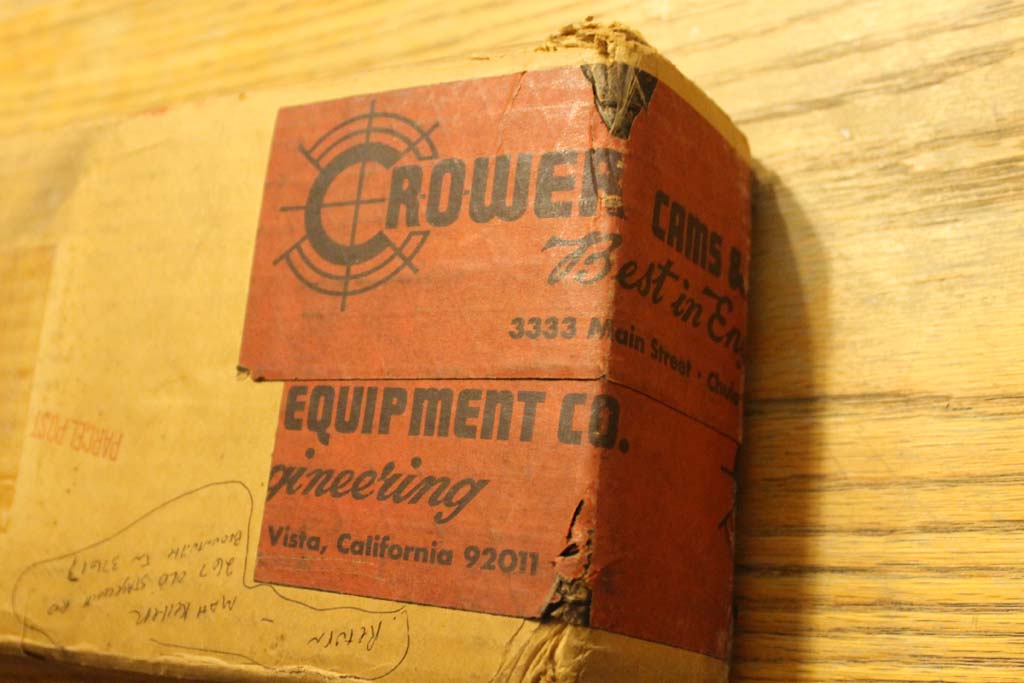
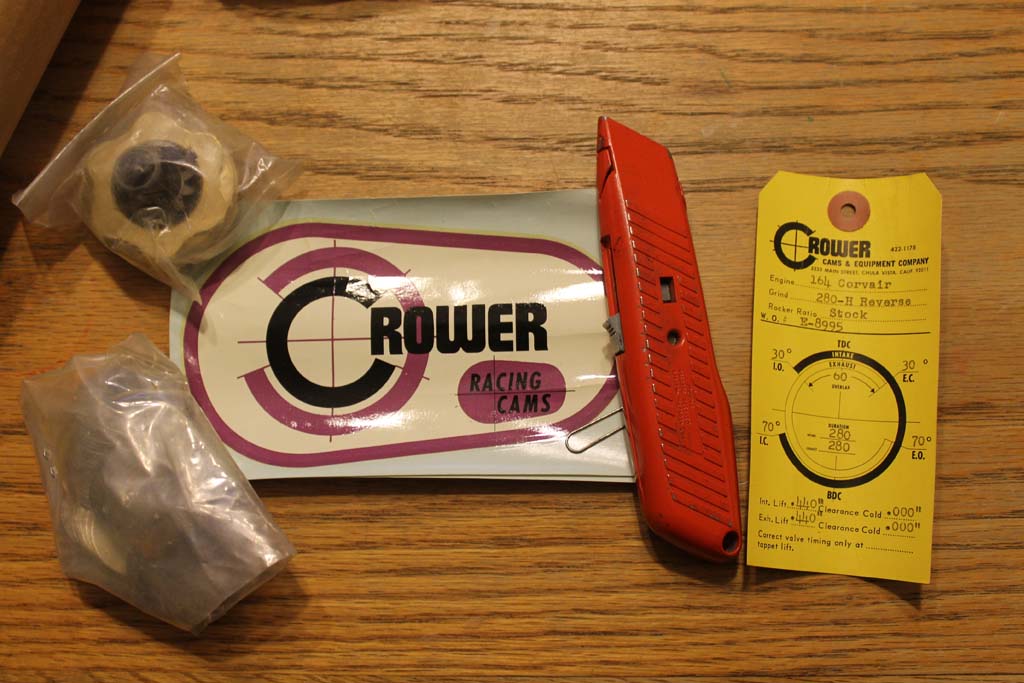
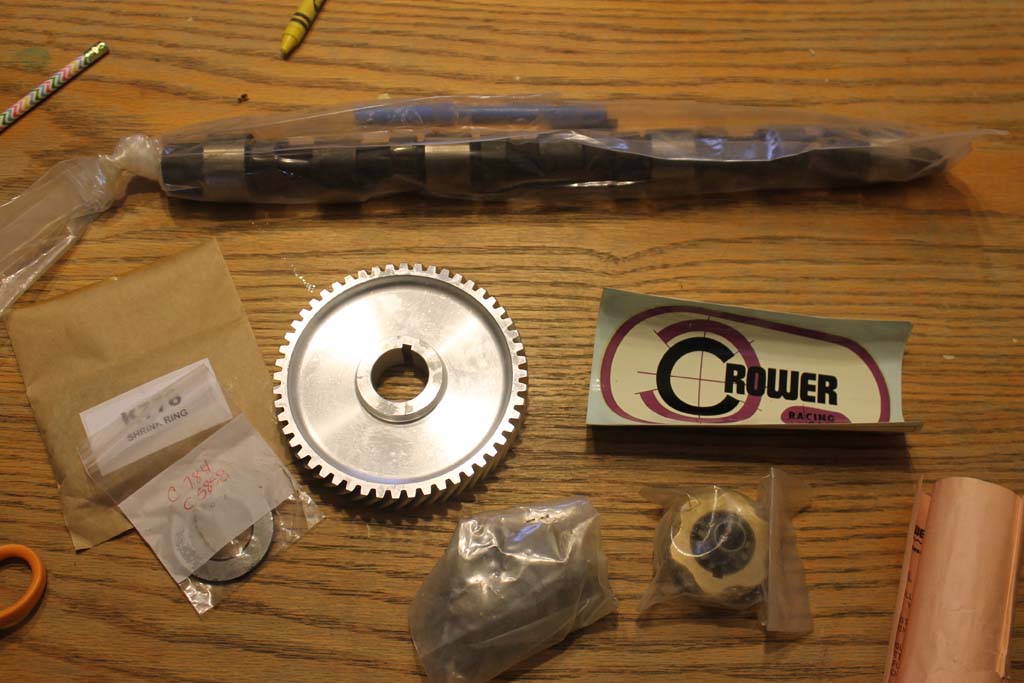
I decided that if I was going to do another engine this time, I was going to do it right. I did get the NOS rebuilt 140 short block in trade, but it was a bit dirty looking. It looked like it had been sitting for 35 years (which it had). I didn't have a warm fuzzy about just dropping it in as is. The 140 heads included with the shortblock were off another dune buggy and had less then 1000 miles on them. They were rebuilt by Jack Lundin, who is a local Boston based Corvair specialist. So I would tear down the motor and have everything checked at the machine shop. This meant a rebuilt Corvair engine, running in reverse rotation and fully internally balanced. This engine would also necessitate a reverse rotation transaxle, just like they did on the formula vee race cars. I was lucky enough to find a NOS Crower reverse engine kit on eBay.
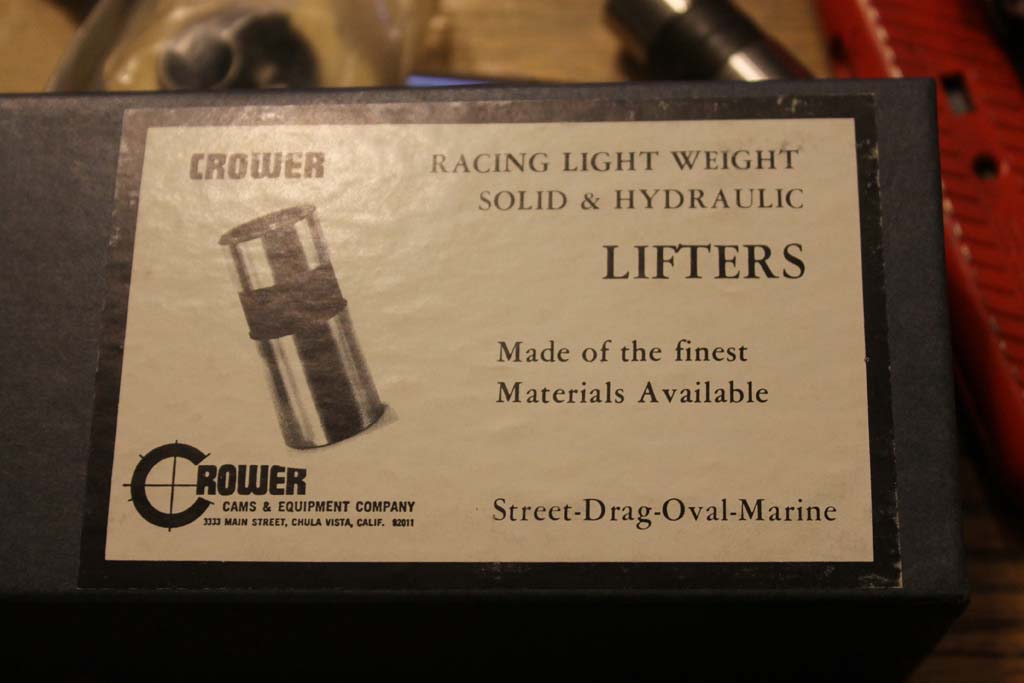
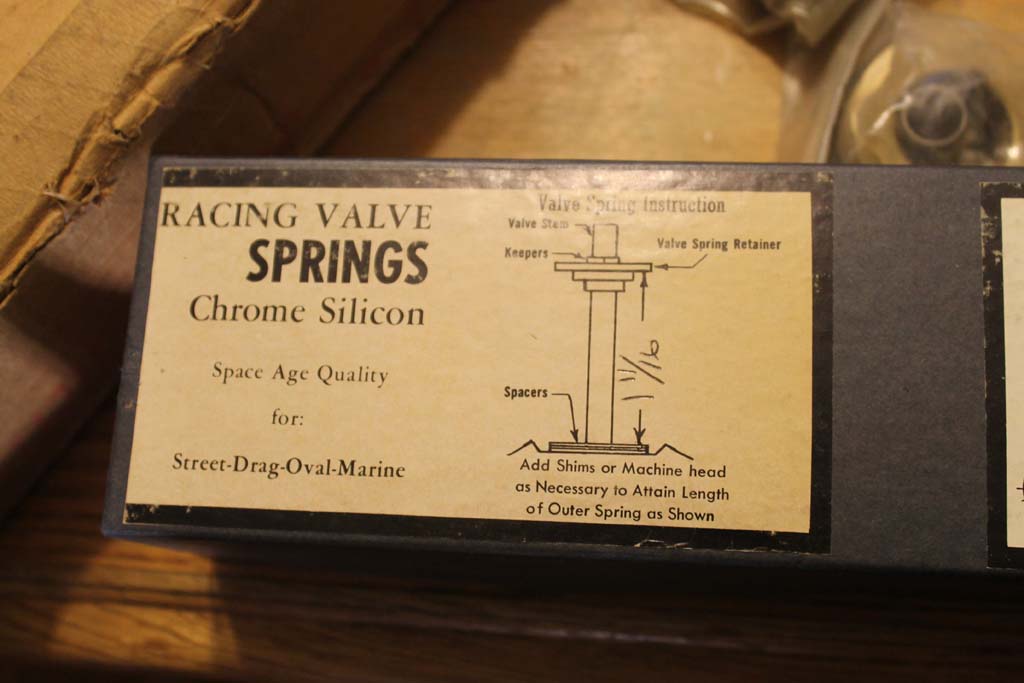
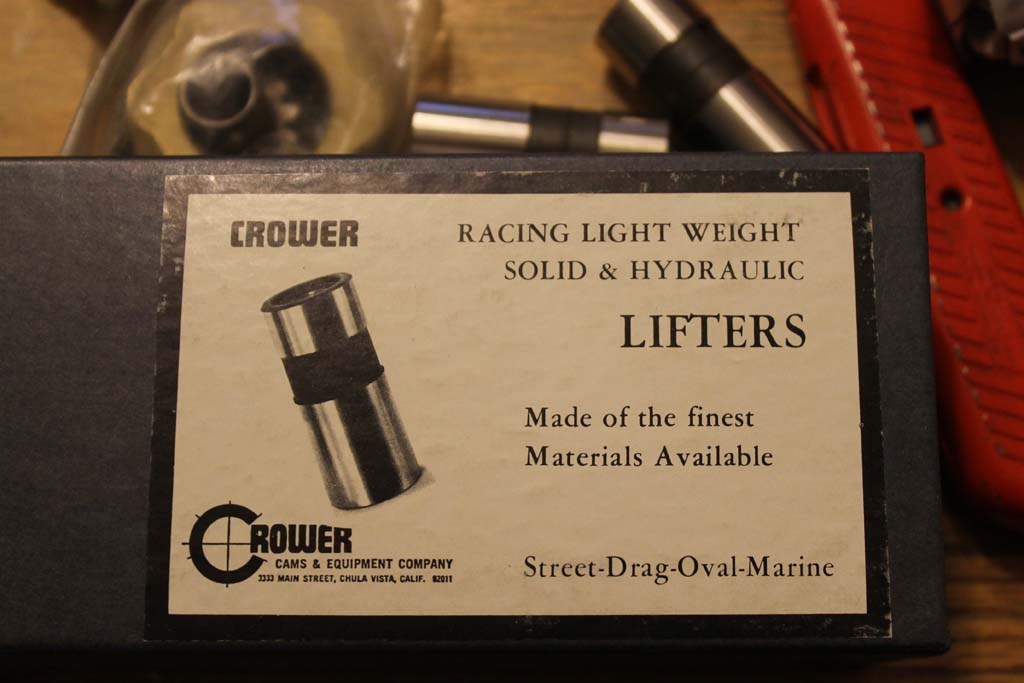
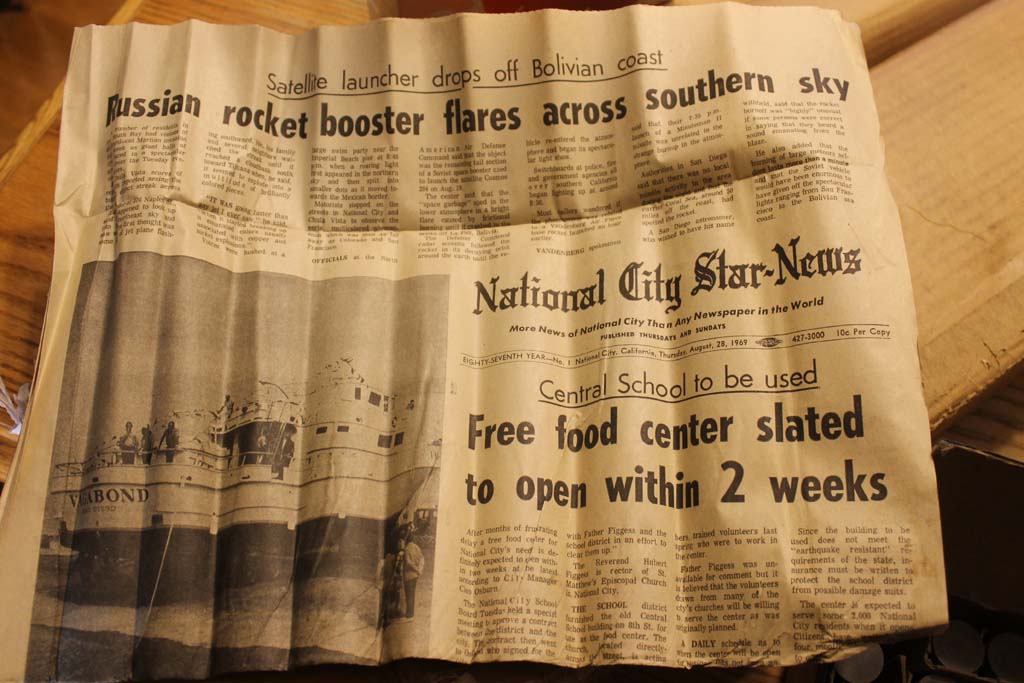
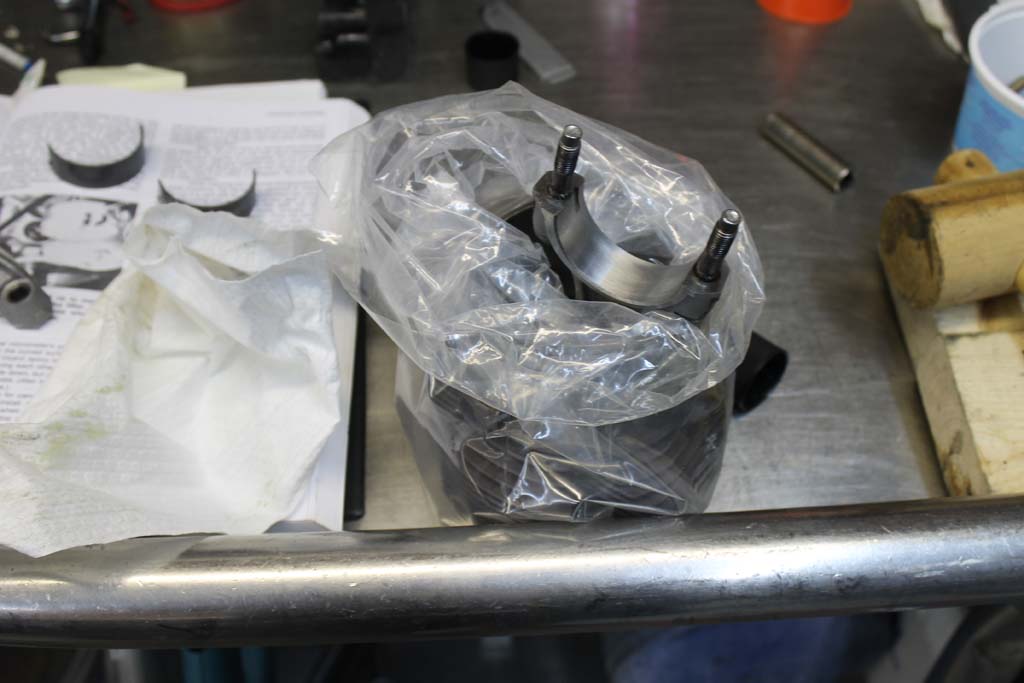
Check out the packing material - from 1969!
I also picked up a failsafe cam gear from Clark's Corviar Parts.
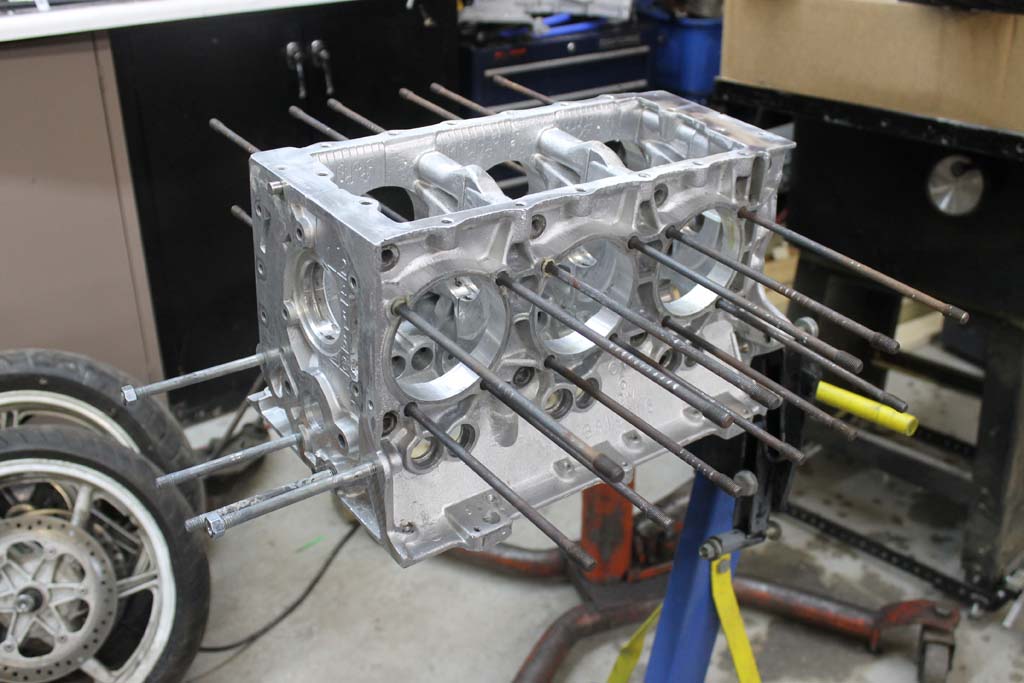
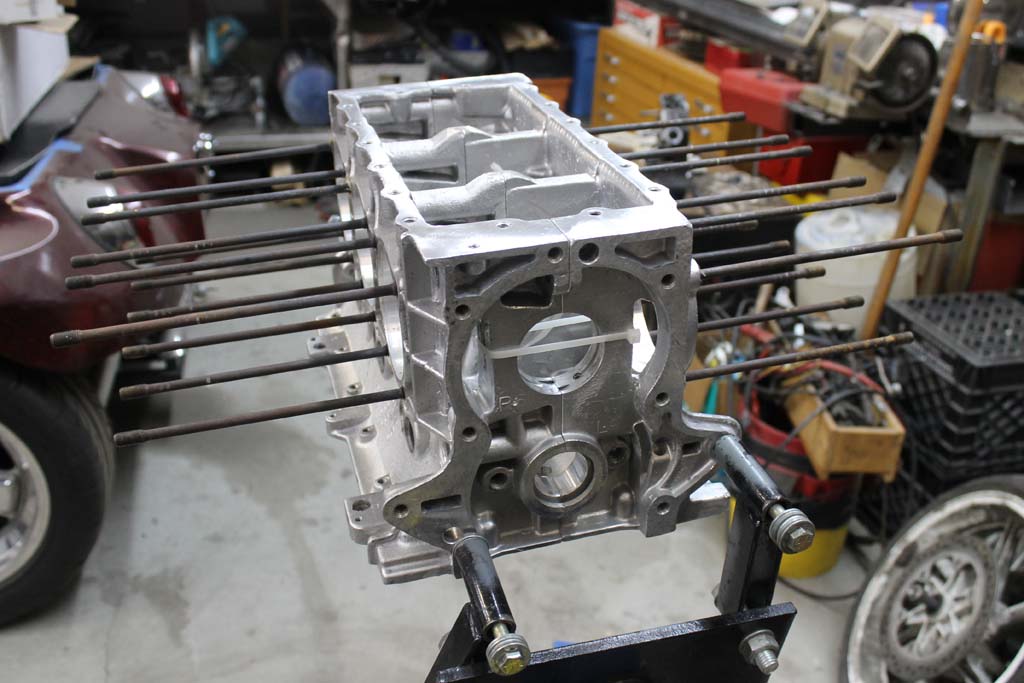
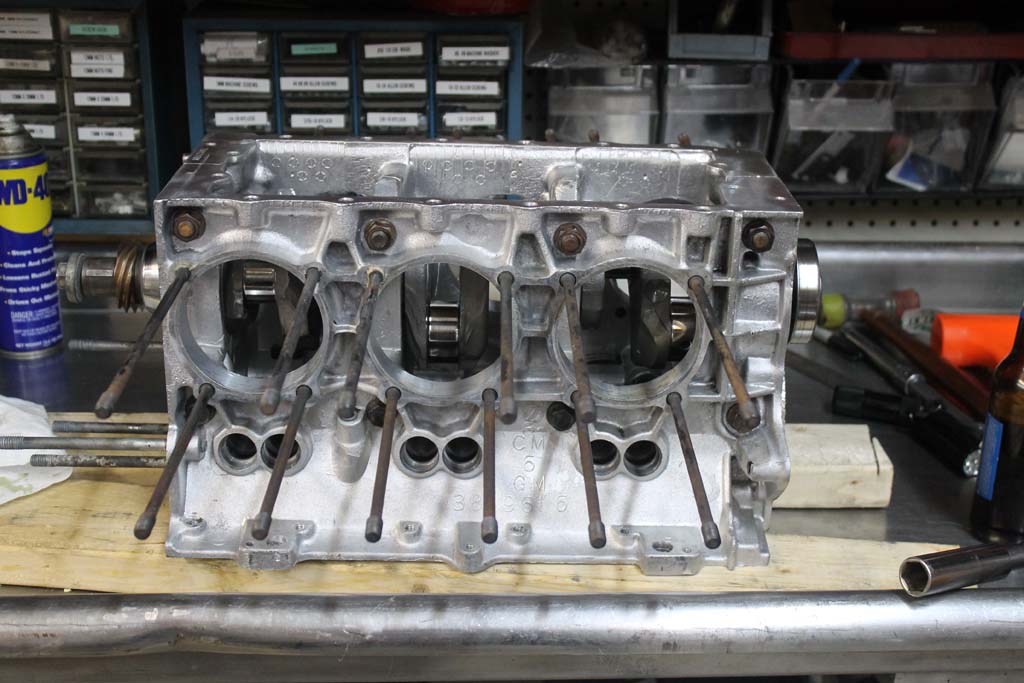
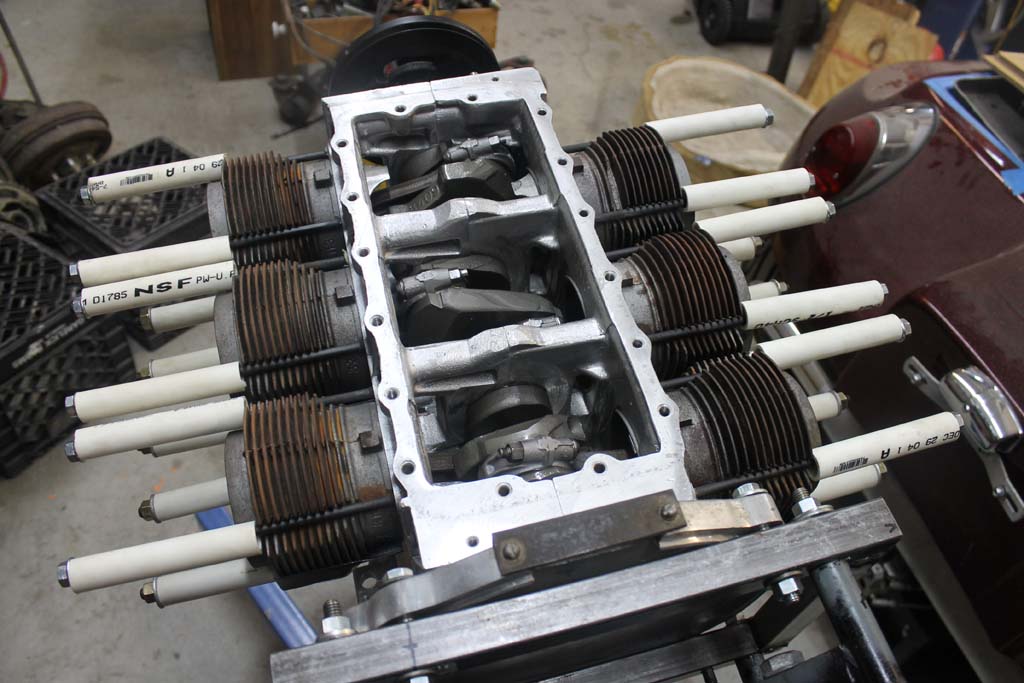
I had ABT machine clean the case in their cold tank. It was pretty nasty inside. I'm guessing it sat under someone's work bench for about 35 years with no heads on it.
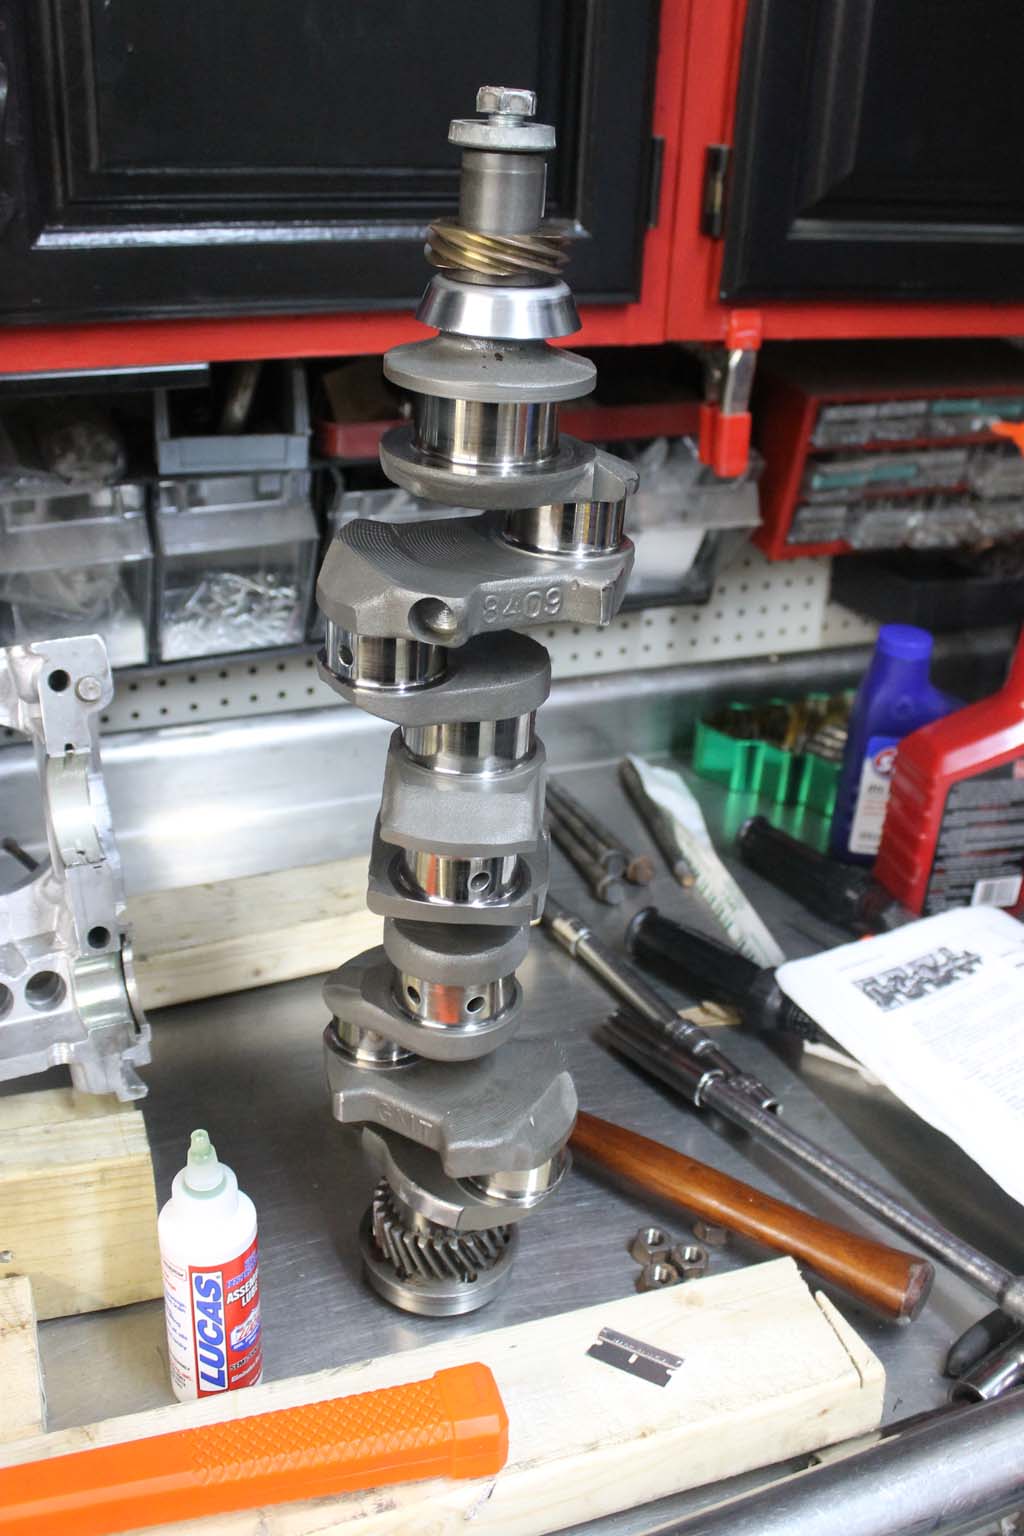
I also had ABT balance the crank, rods, pistons, balancer, flywheel and pressure pate as a unit. The piston/rods assemblies we off quite a bit. They also fitted the pistons and cylinder for me. They had to clean up the hone the cylinders a bit. Since the Pistons came off the rods, I had them flip the orientation to place the thrust loads on the correct side of the piston. This has to be done in a reverse rotation Corvair. The stock design has the center offset.
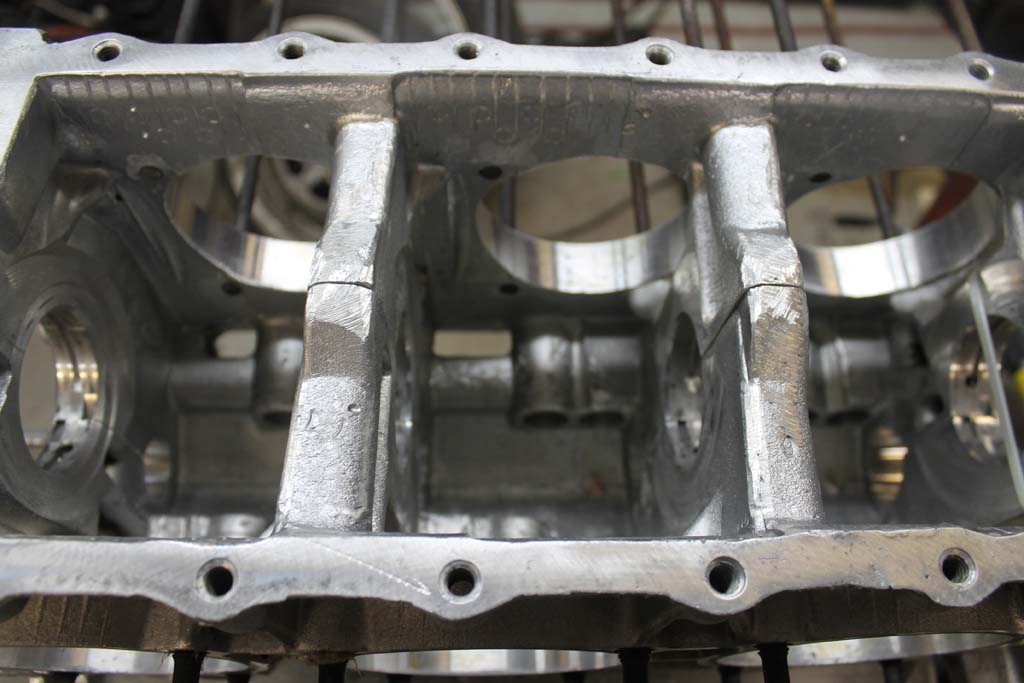
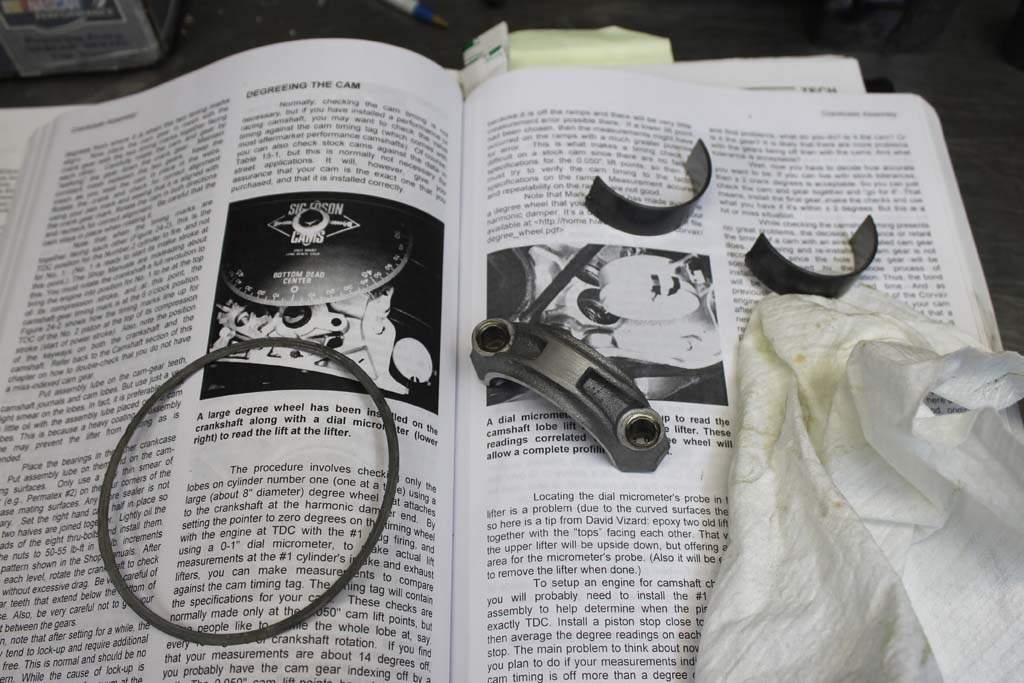
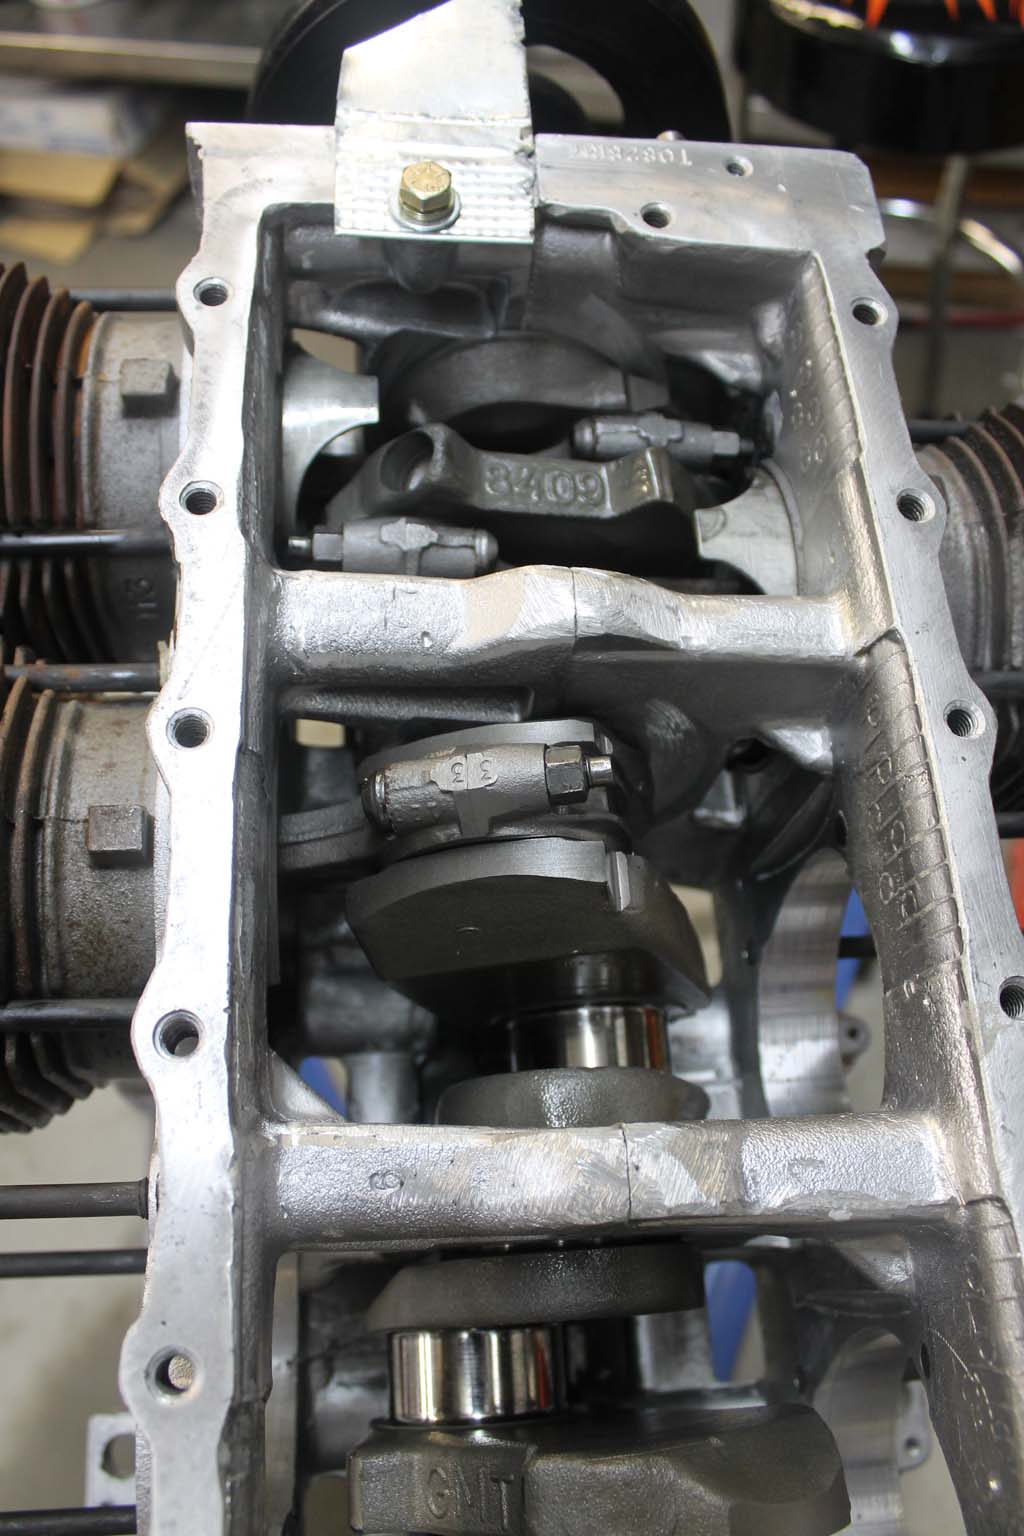
One of the things I found when I broke down the short block was that one of the main bearing shell halfs was missing! Can you imagine if I had started it like that? It would have seized very quickly.
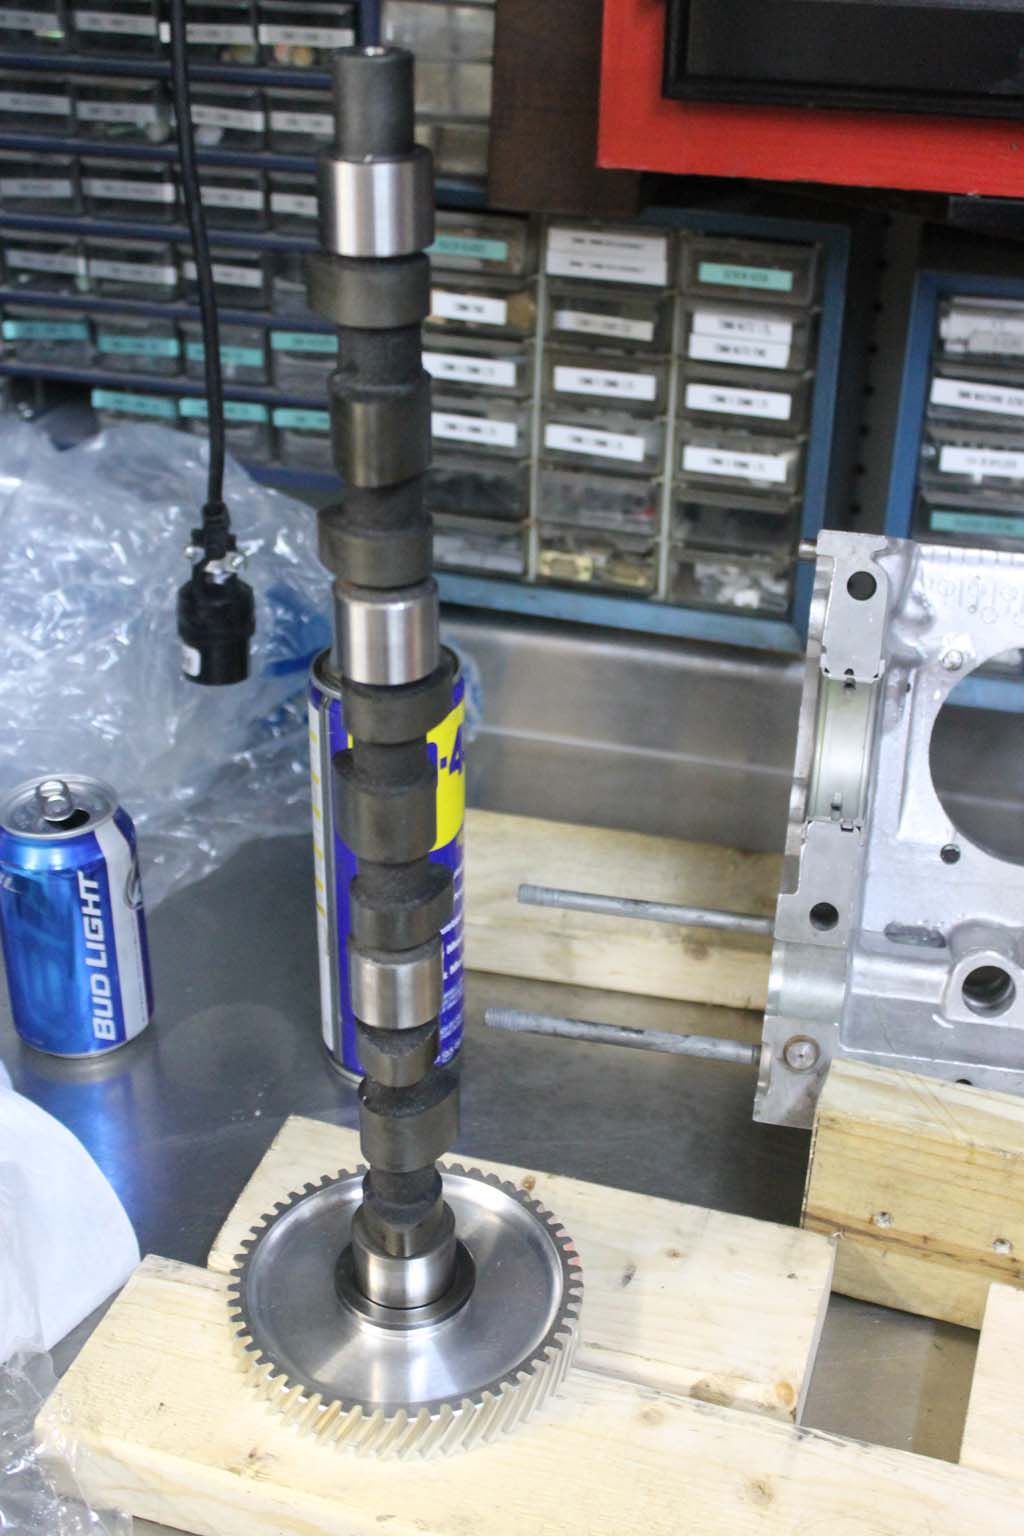
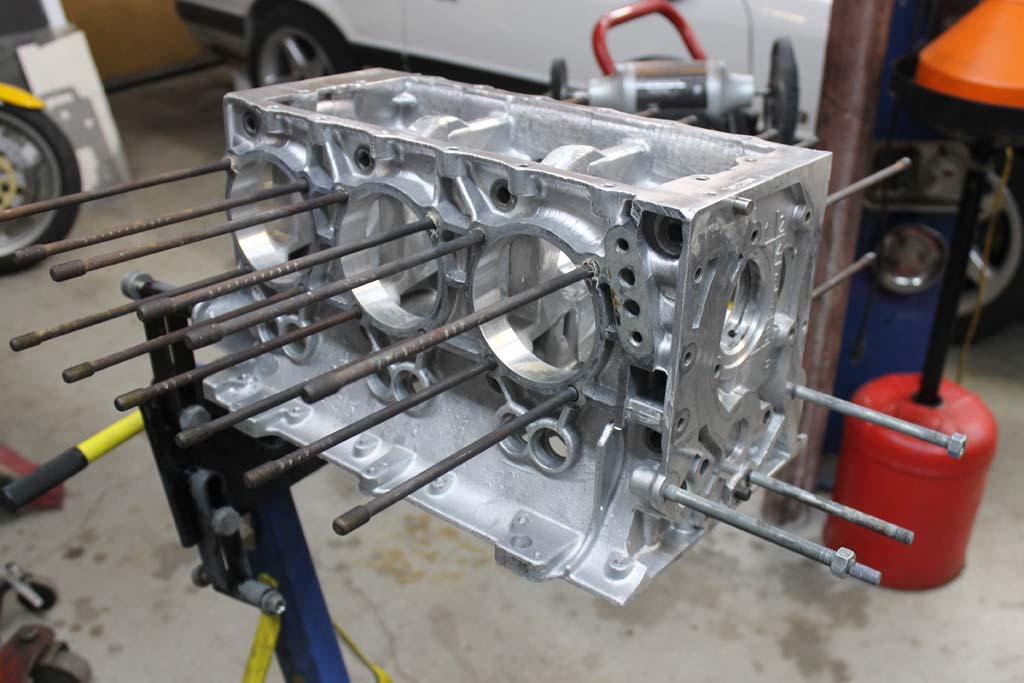
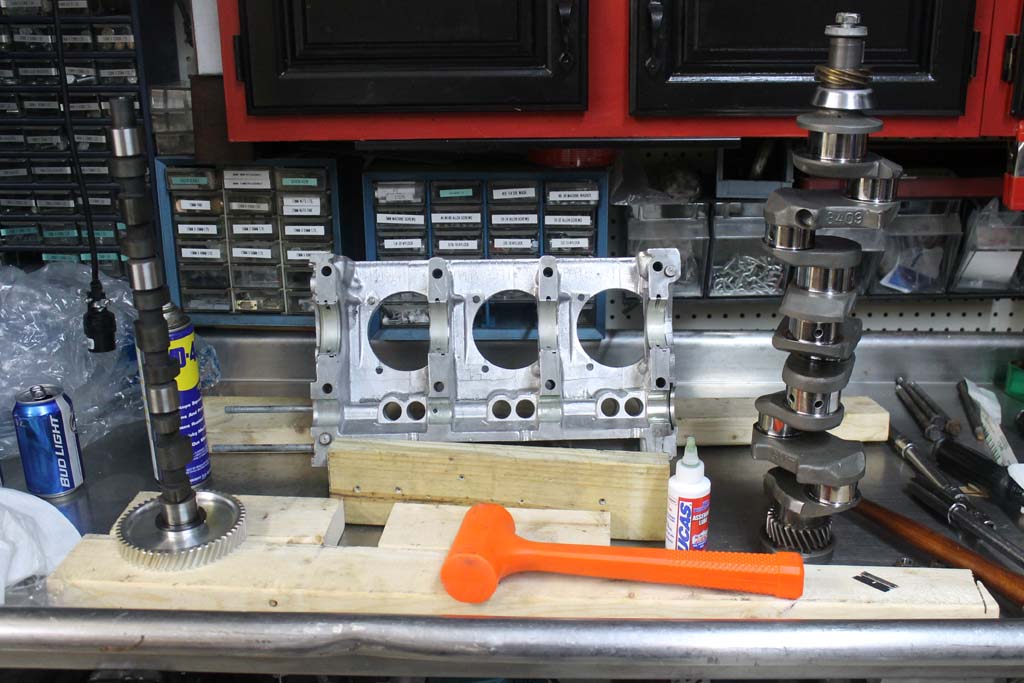
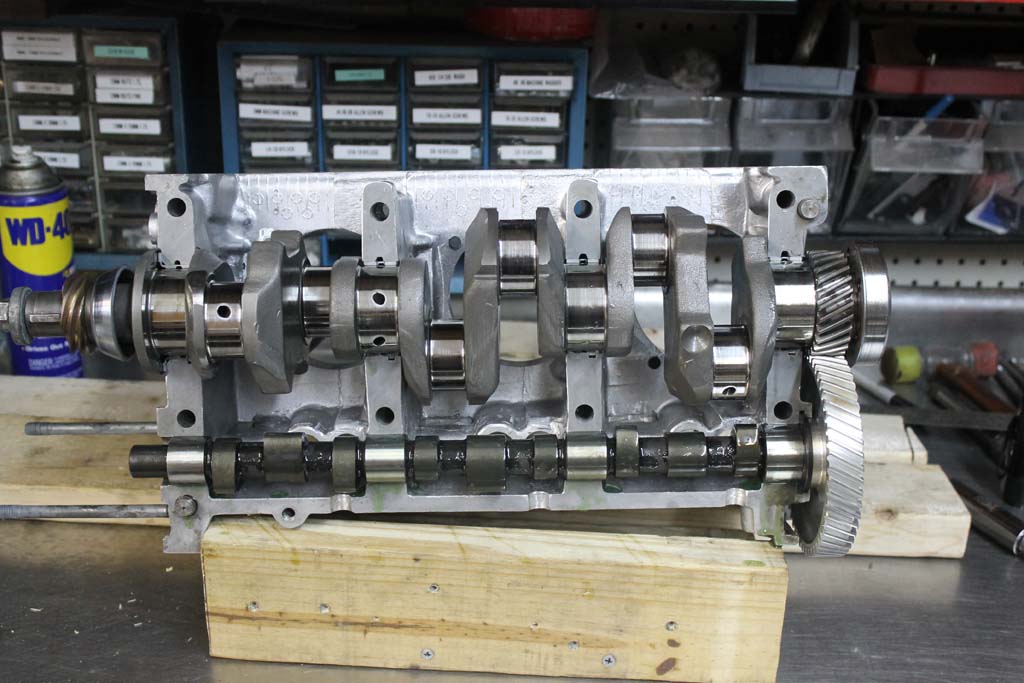
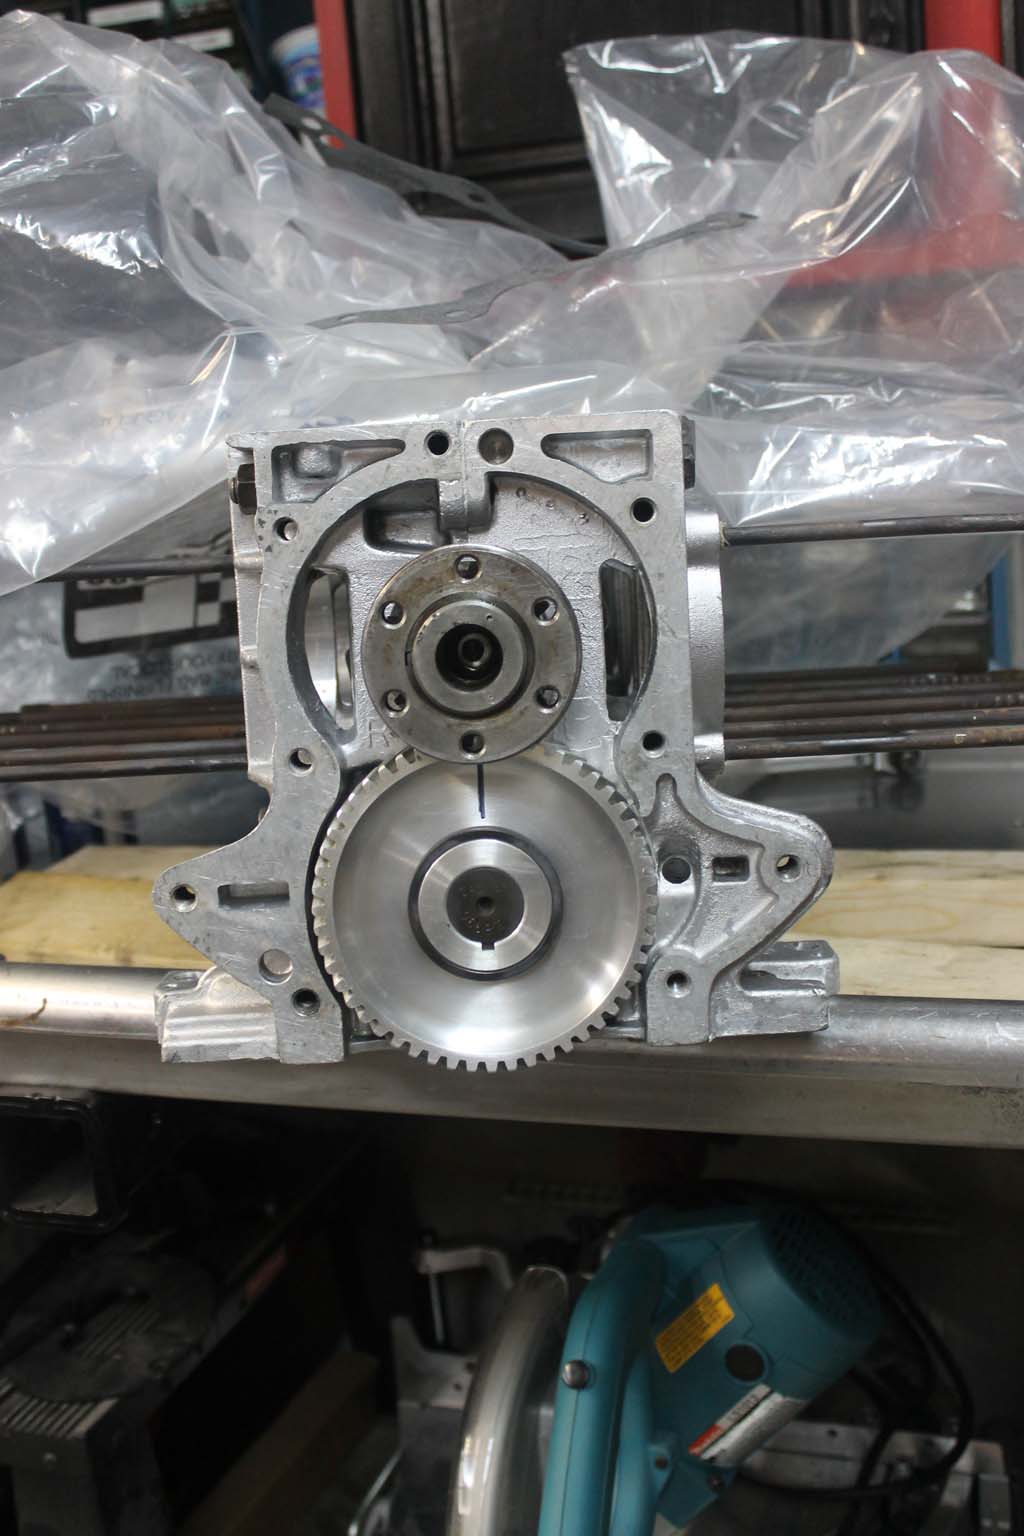
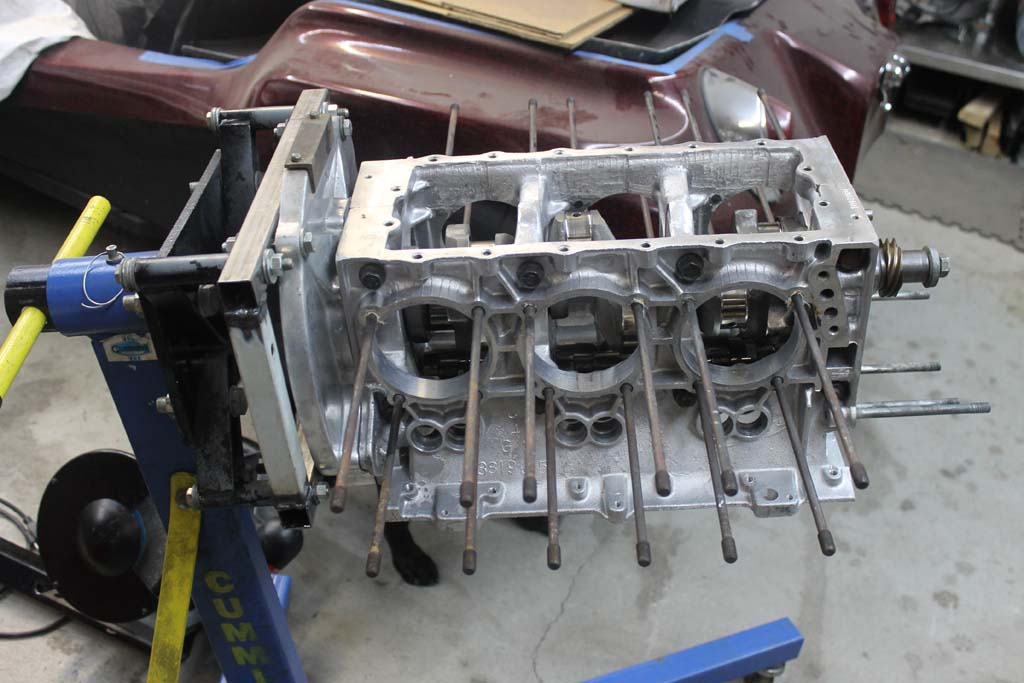
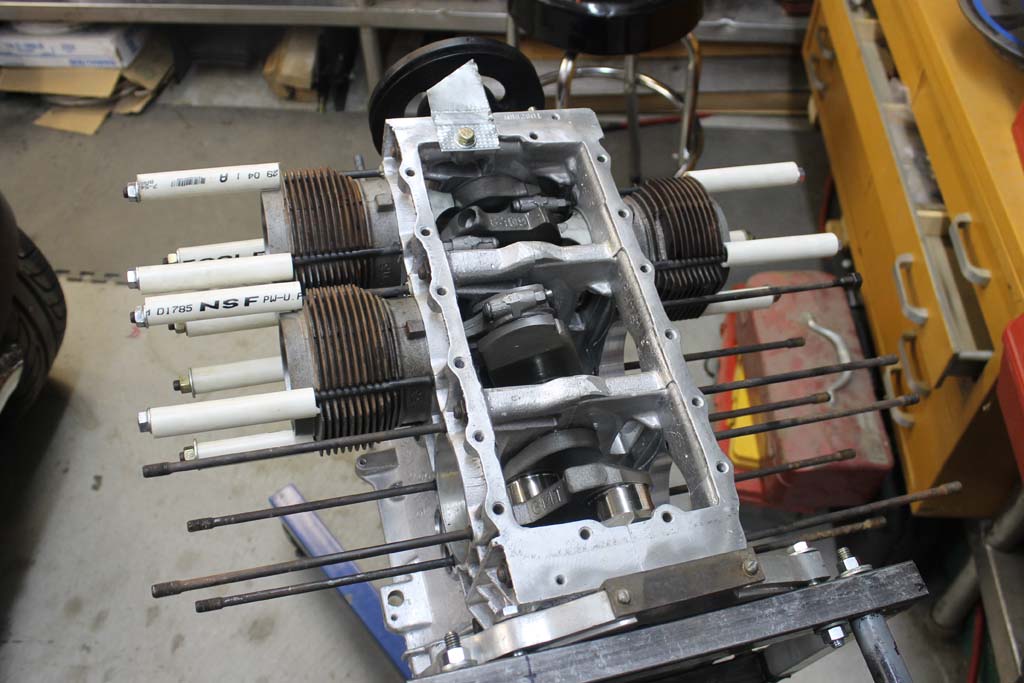
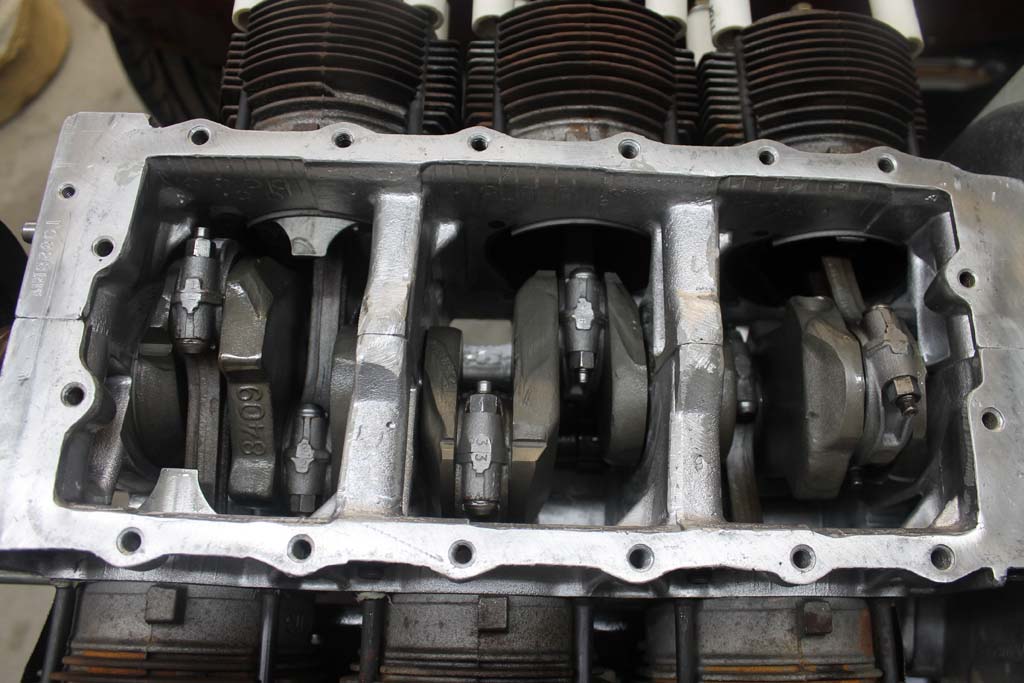
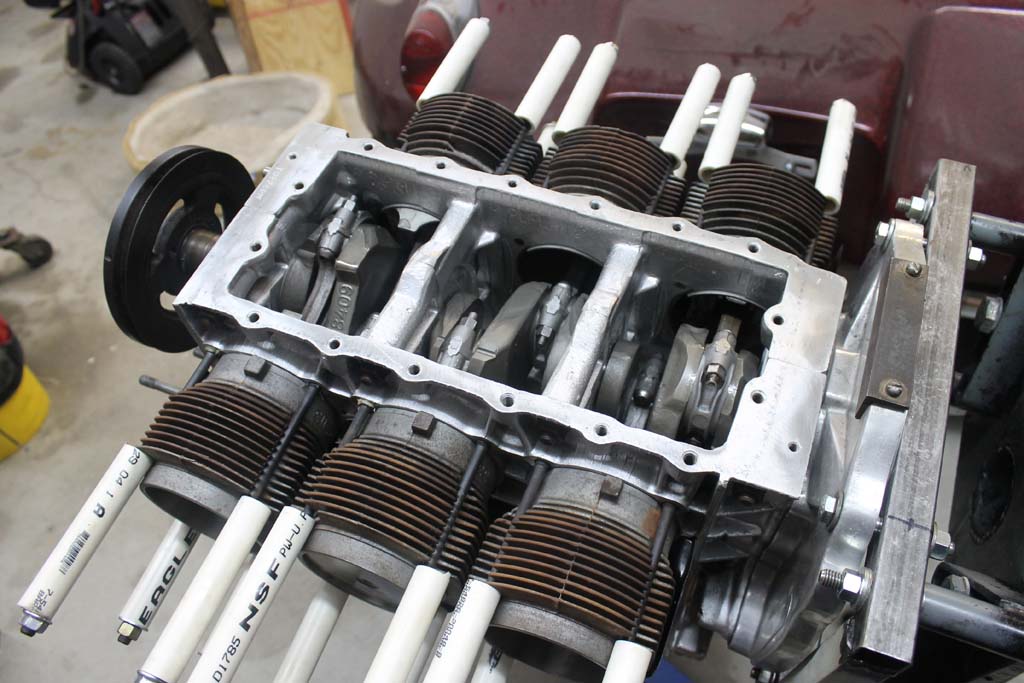
Cam and crank in the case hlaf. The gear on the crank that is part of the reverse engine kit is seen here. I had ABT press that on.
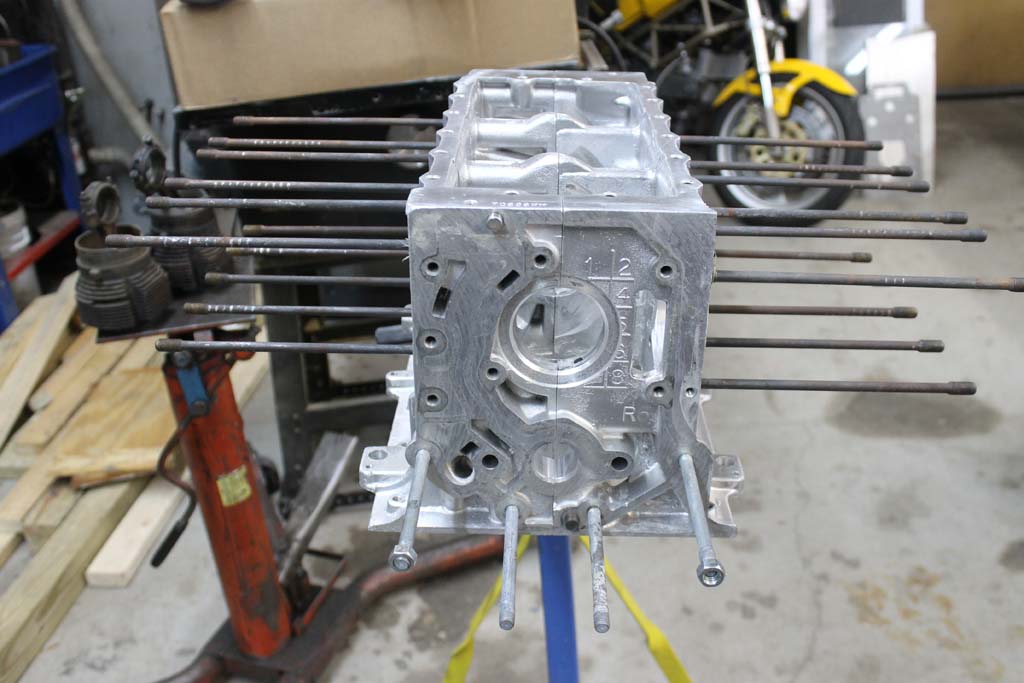
Case was then torqued to spec in the correct pattern per the 1965 shop manual.
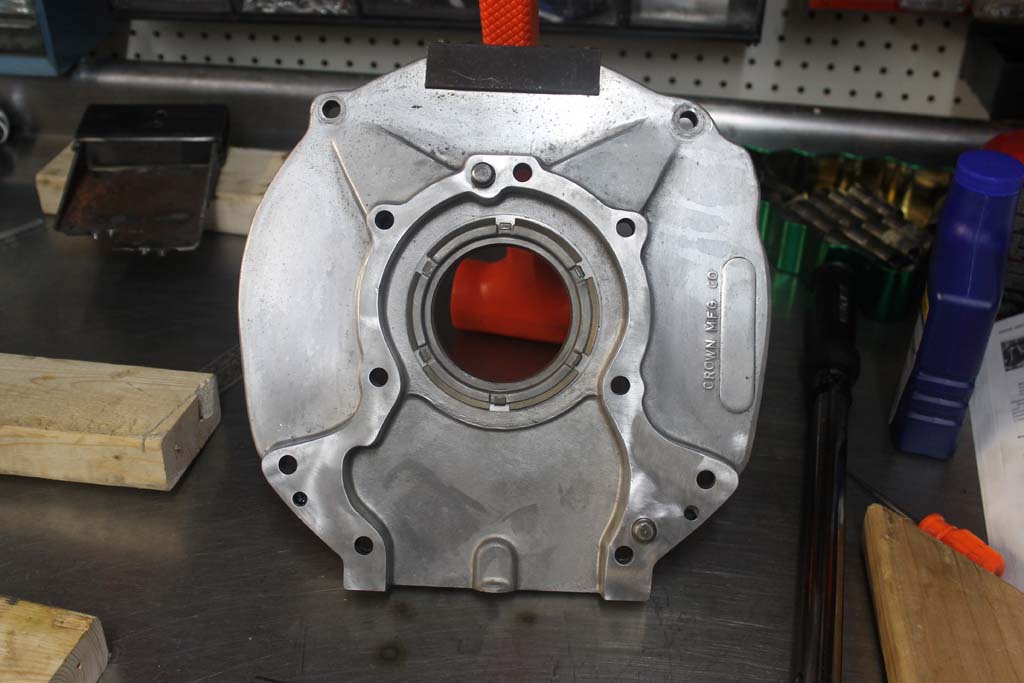
I used one of my Crown VW/Corvair engine adapters.
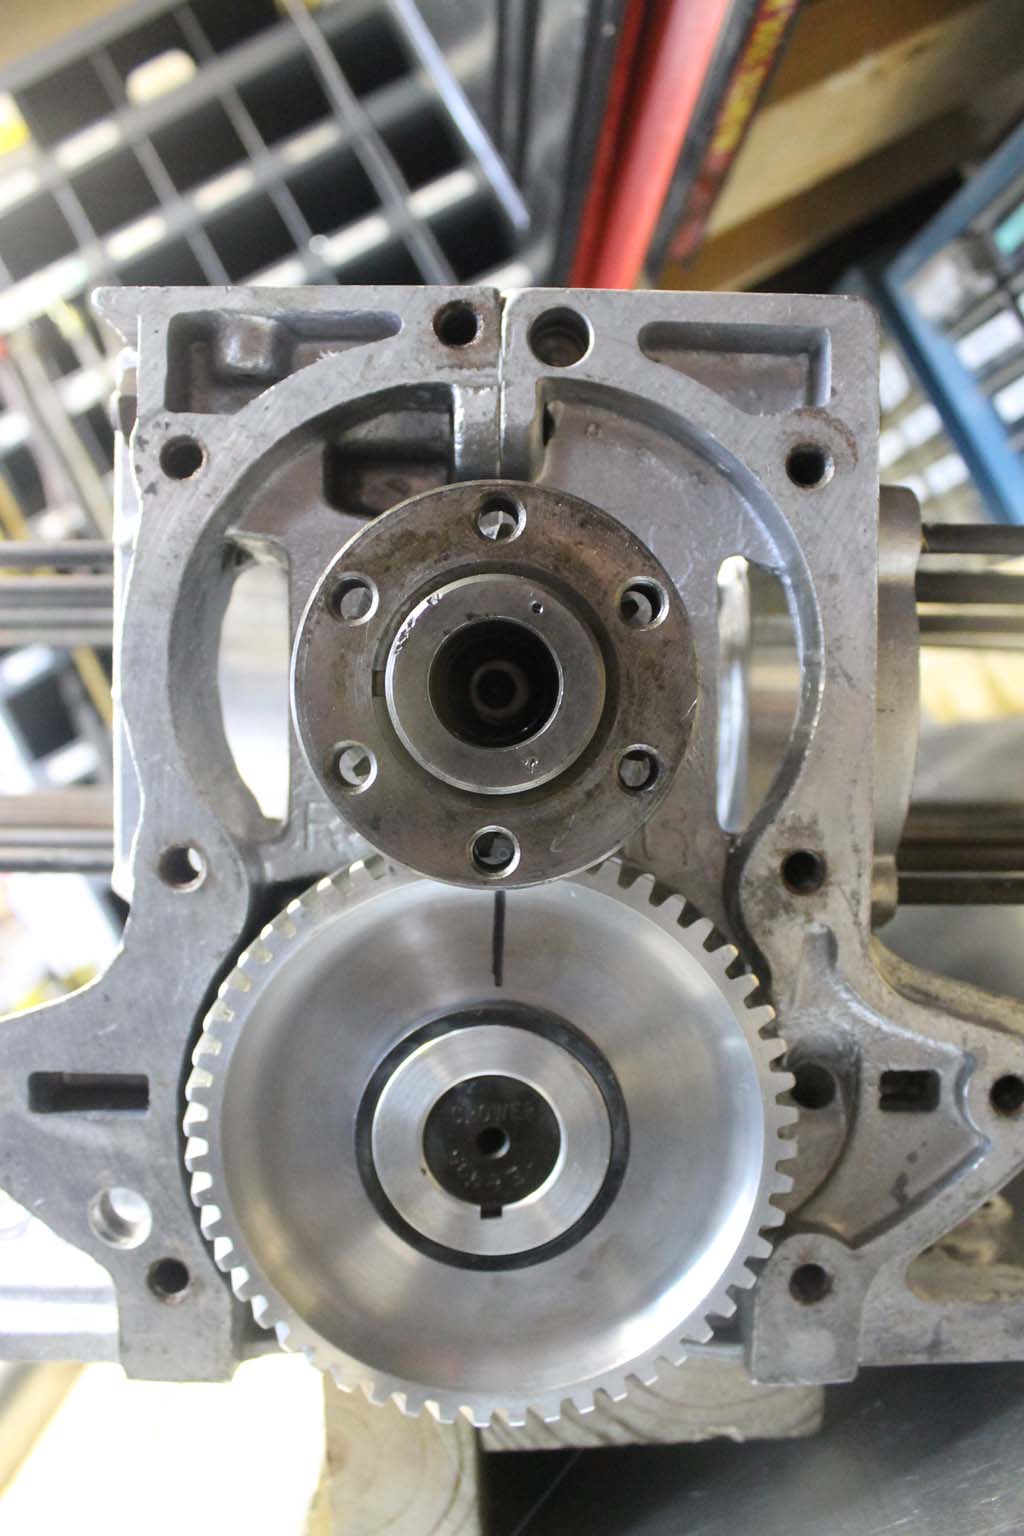
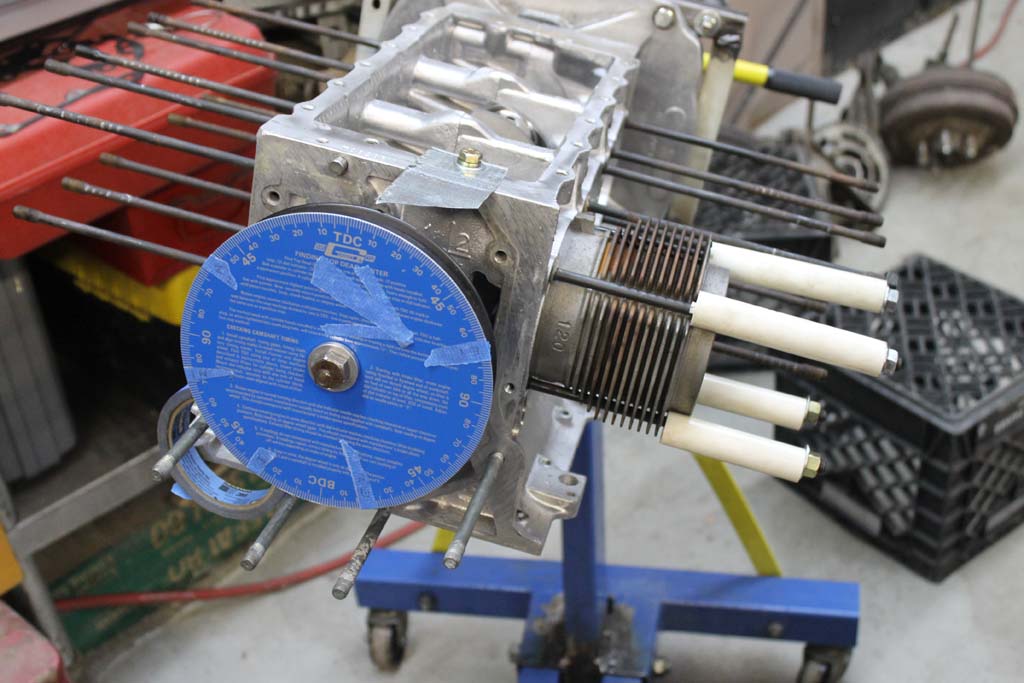
Timing marks aligned.
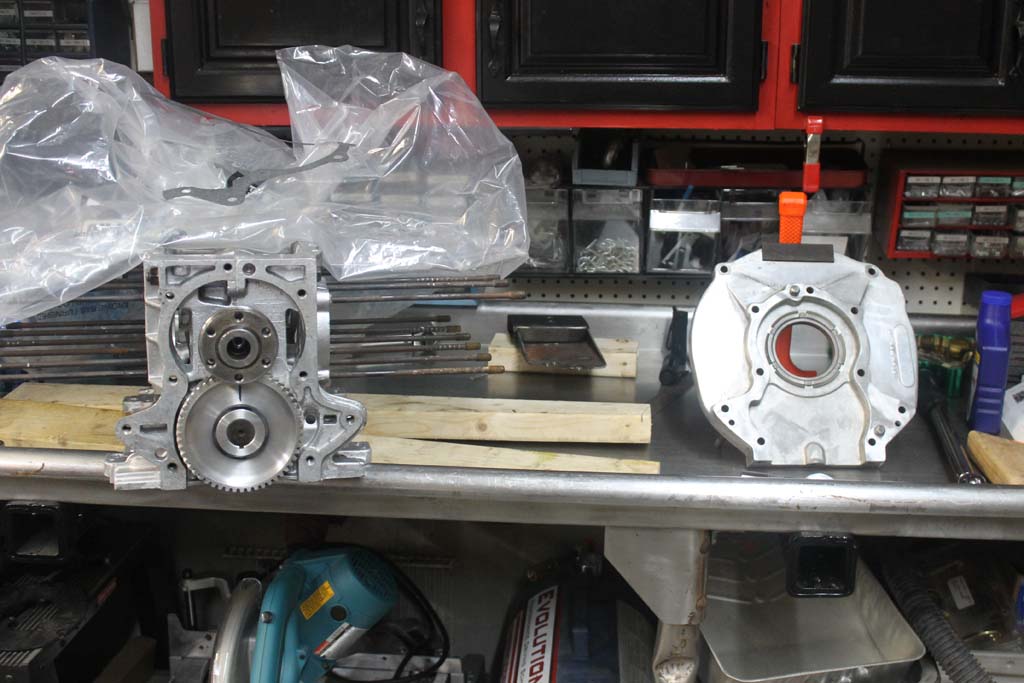
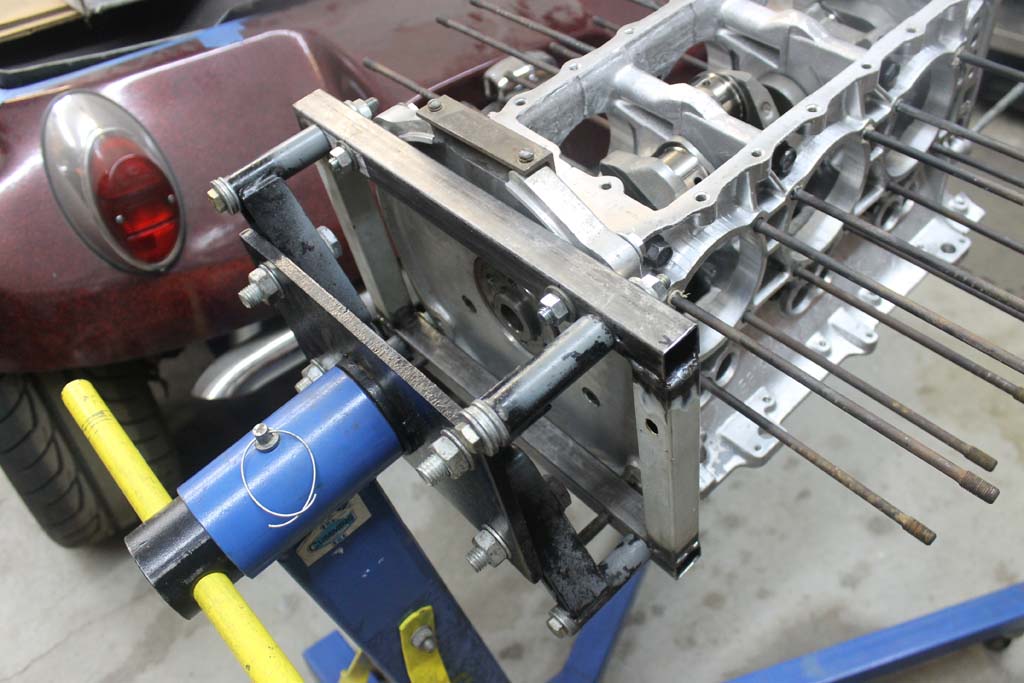
Bottom end done, adapter going on.
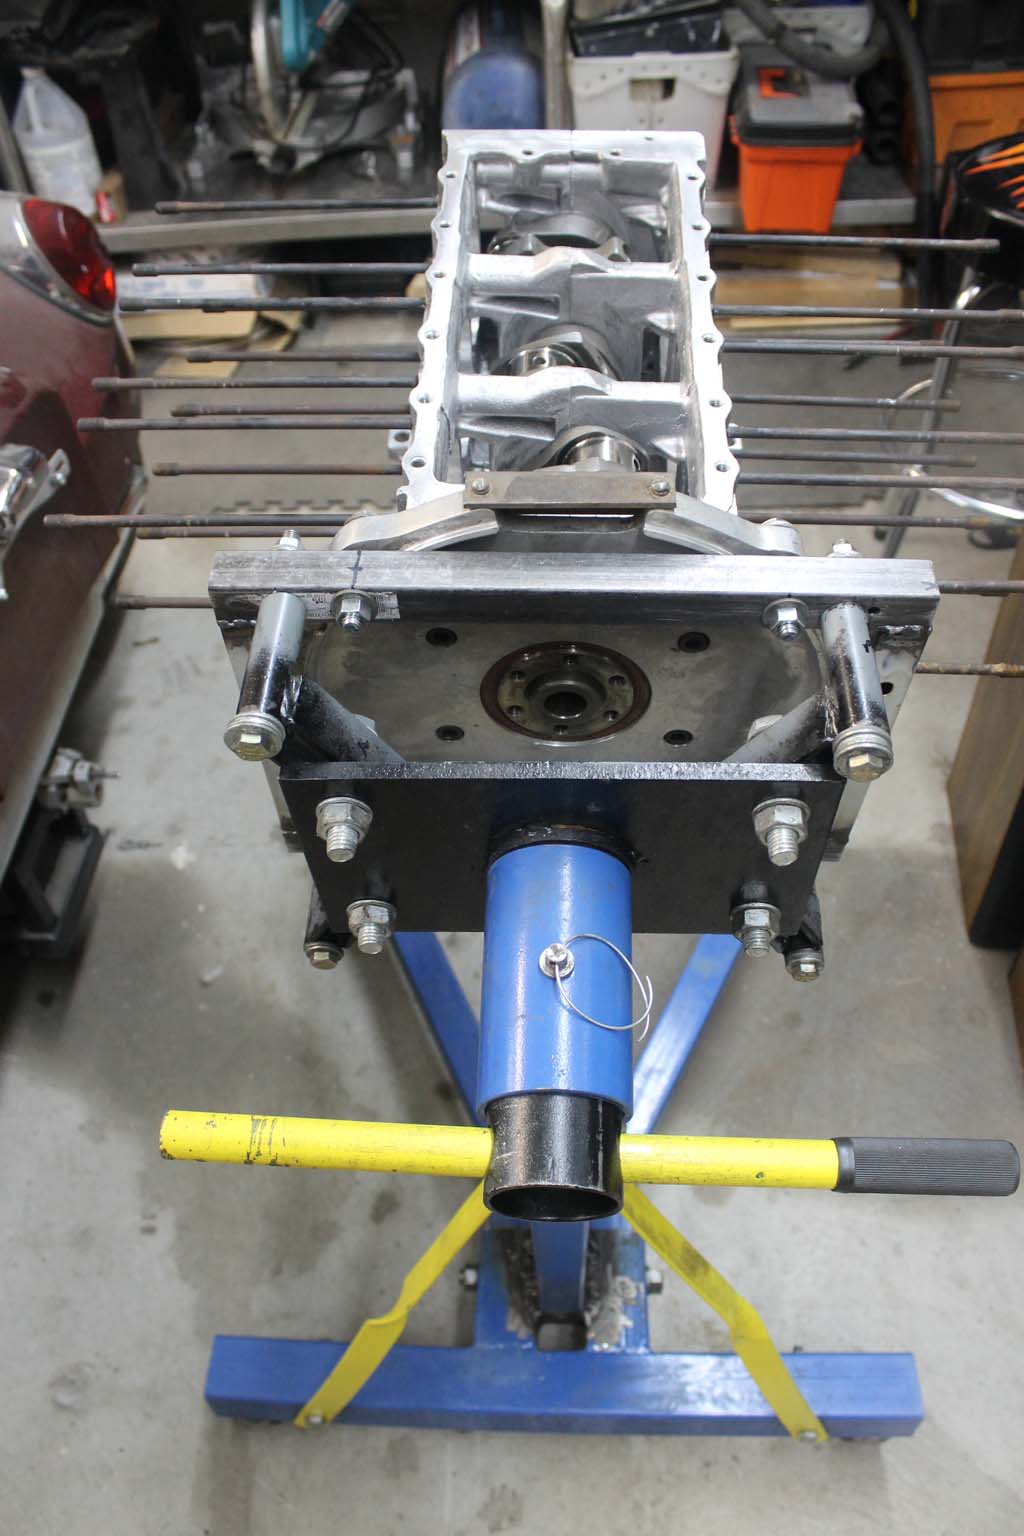
I made an adapter for my engine stand to work with the Crown engine adapter.
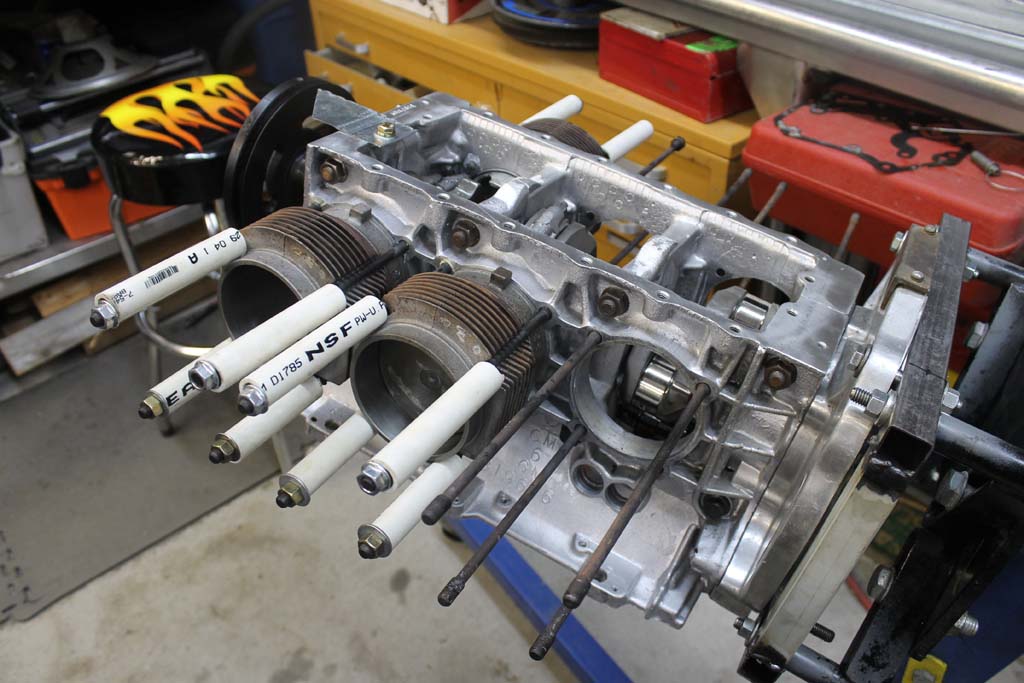
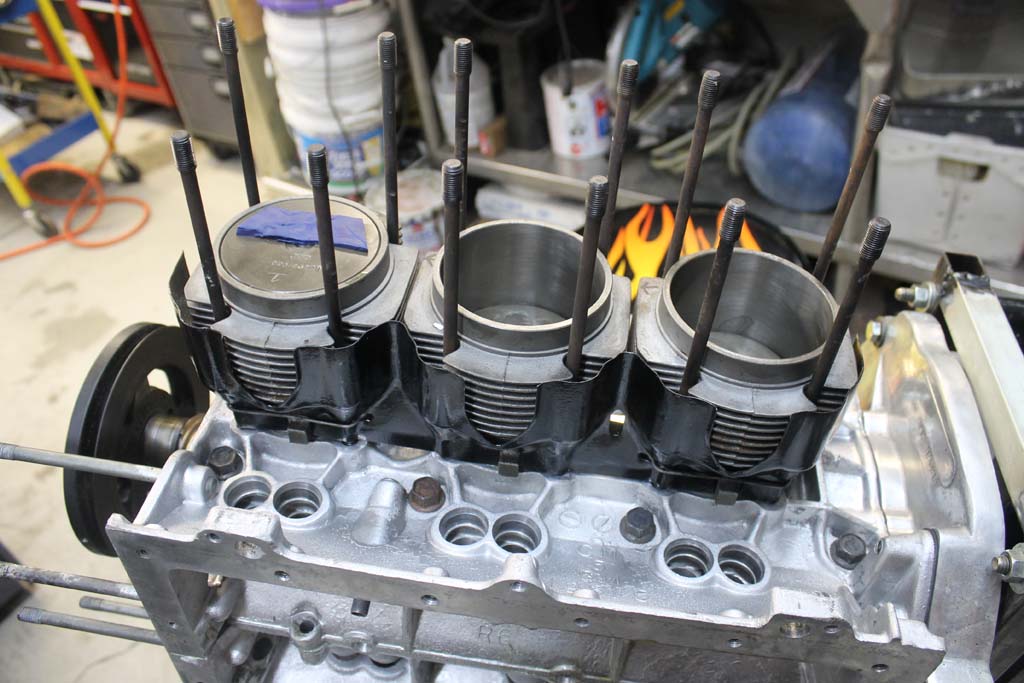
Fittment of the rod bearings and cylinder assemblies. Pistons ore .030 over TRW forged.
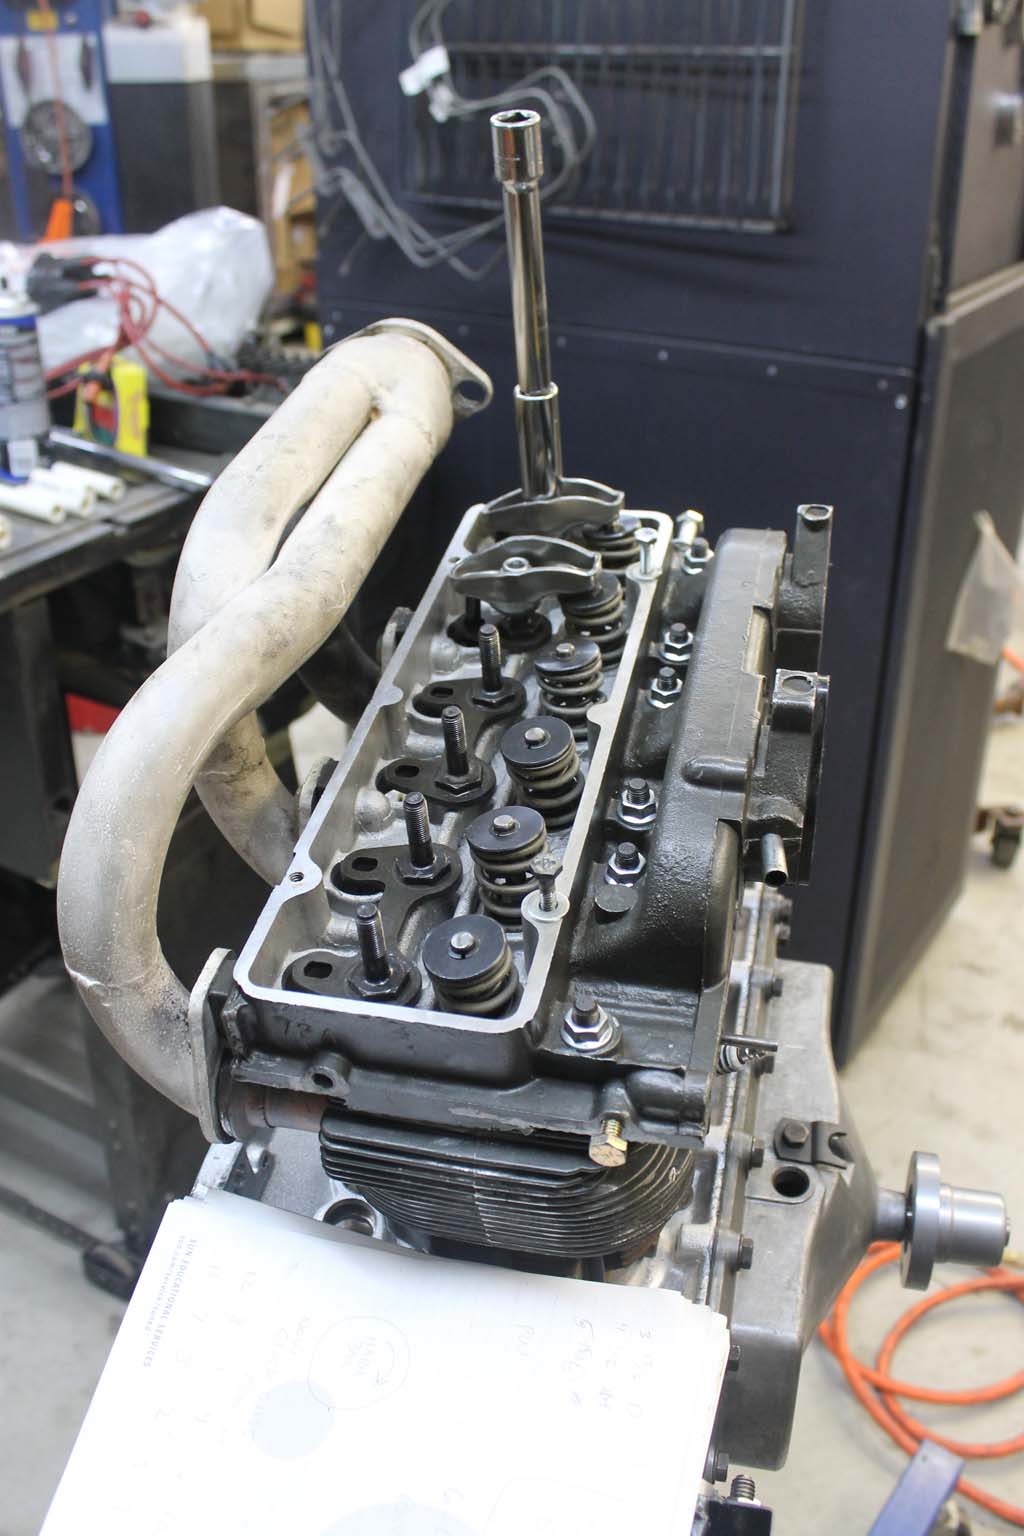
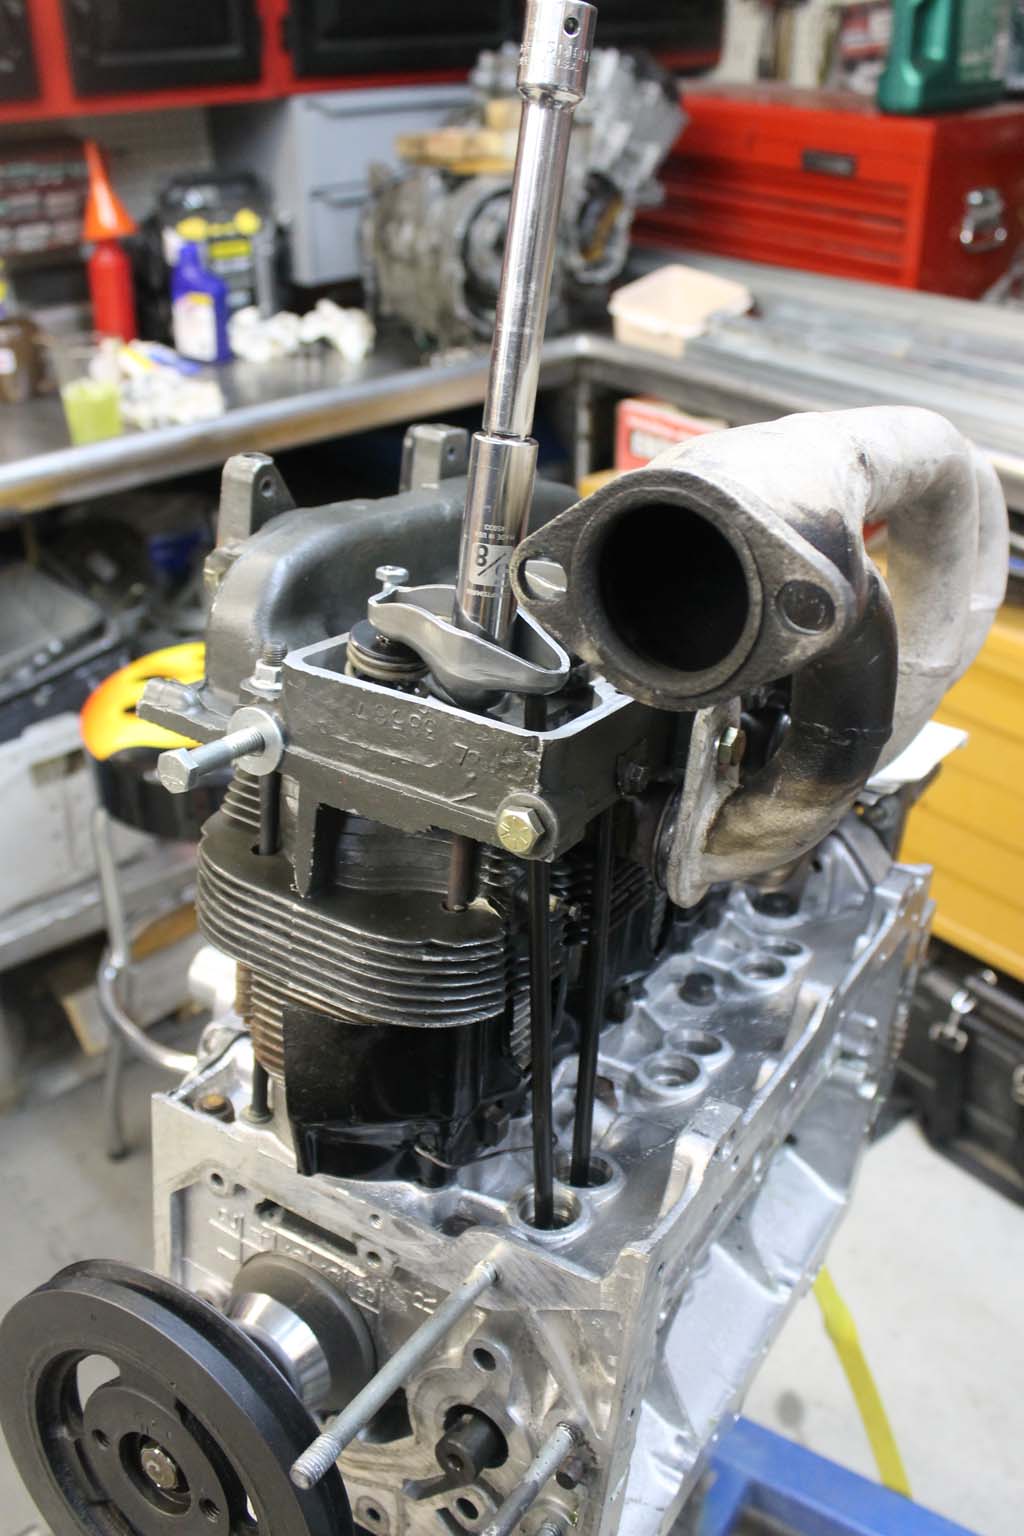
I used a degree wheel to check my cam timing.
Piston/cylinder assembly.
Bob Helt's Awesome book: the Classic Corvair.
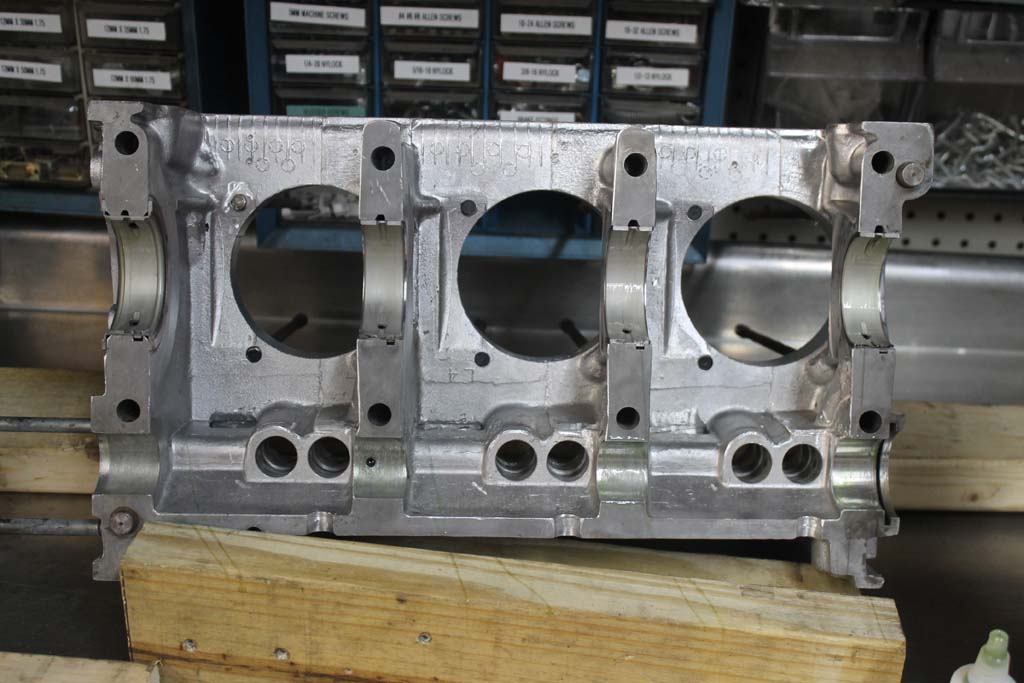
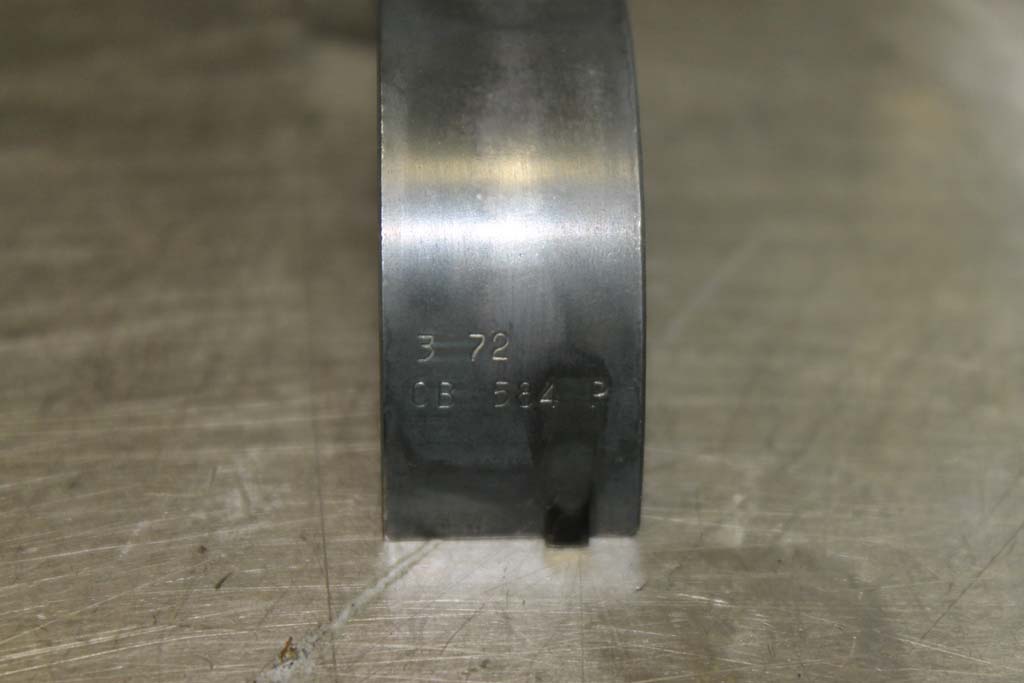
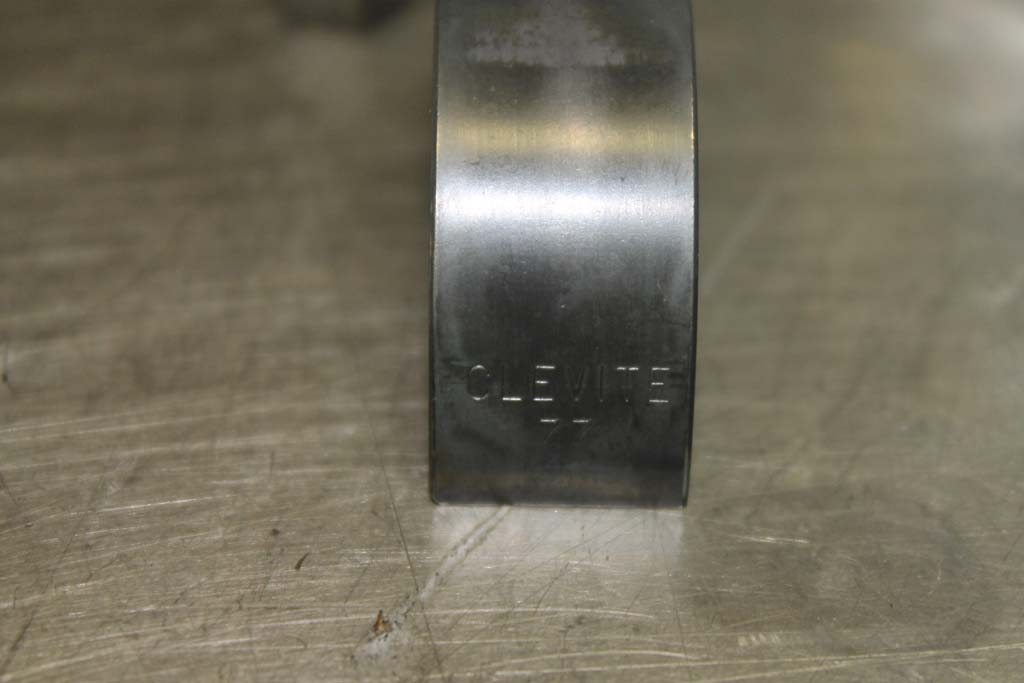
The dates on the bearings date the orginal rebuild. Since I was missing one of the mains I had to buy a new set of Clevites from Clark's Corvair.
Rubber hose used to protect the case from the rod bolts when assembling. I had the rod bolts upgraded to ARP.

All the side thrust clearances were checked with feeler gauges and the bearing clearances checked with plastigauge.
All in.
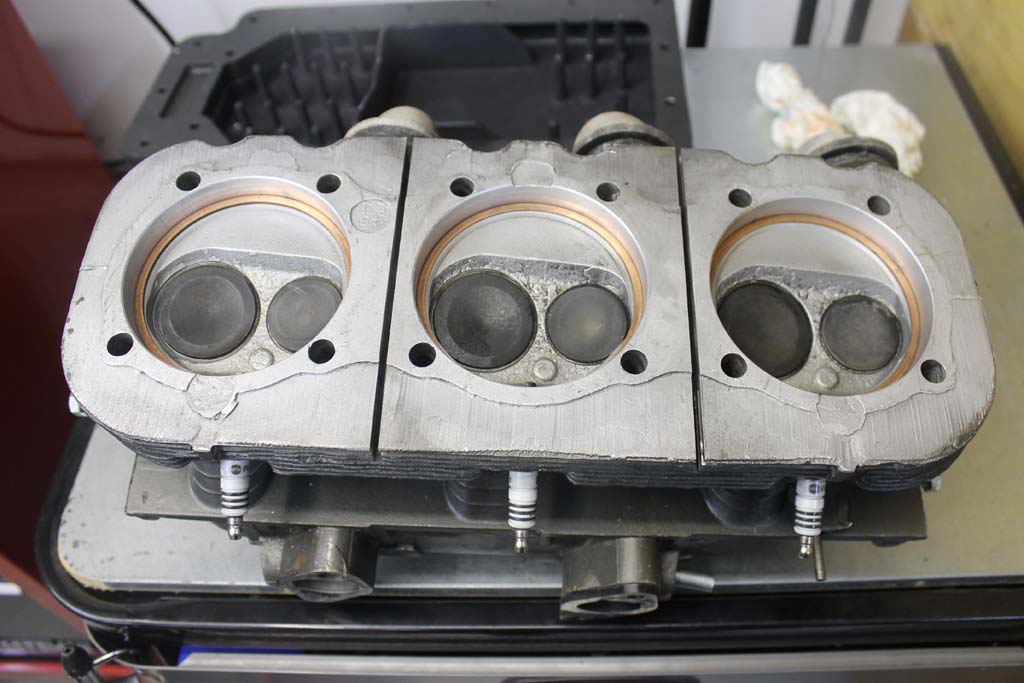
I cleaned carbon from all the chambers and replaced the head gaskets. CCed all of the chambers and they averaged, 52cc.
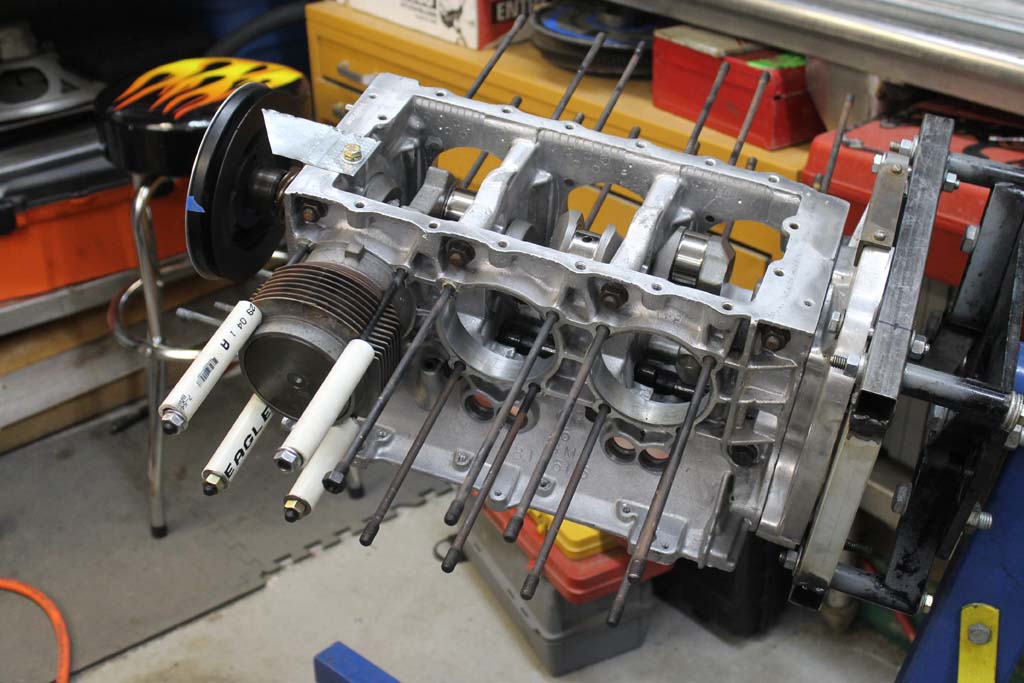
Powdercoated Shrouds under the cylinders. Rebuilt Balancer from Dale Manufacturing.
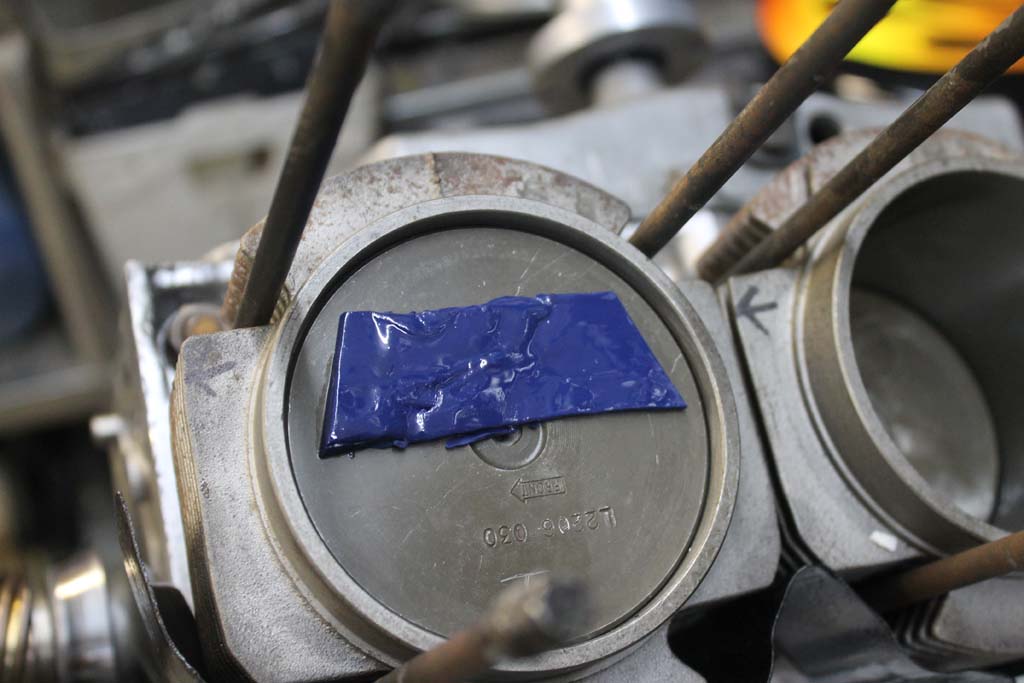
Piston to valve clearance checked with clay.
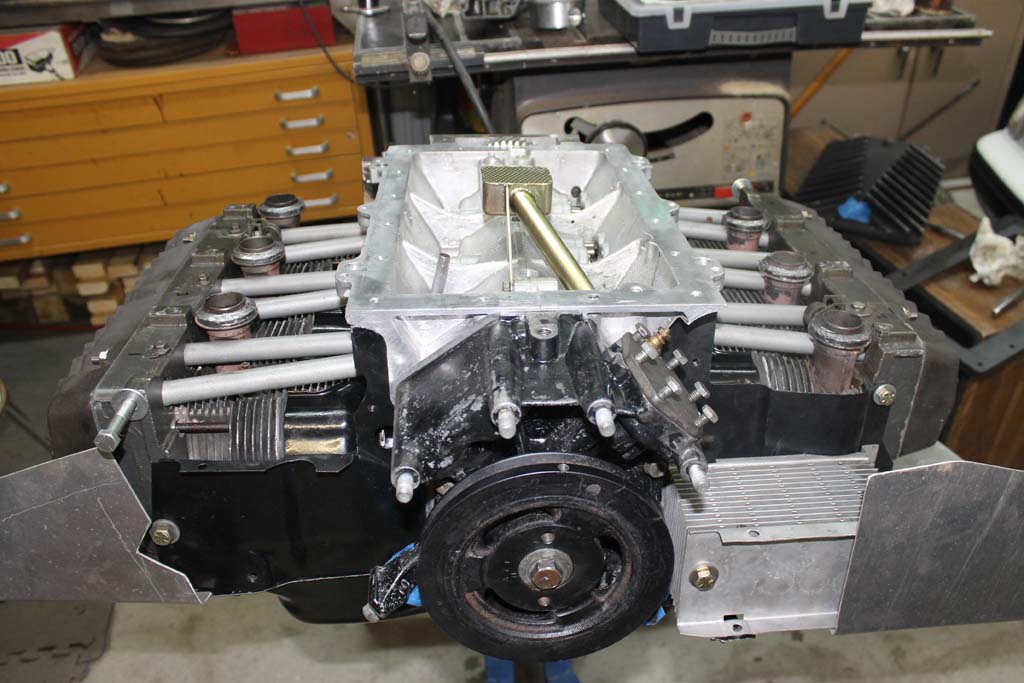
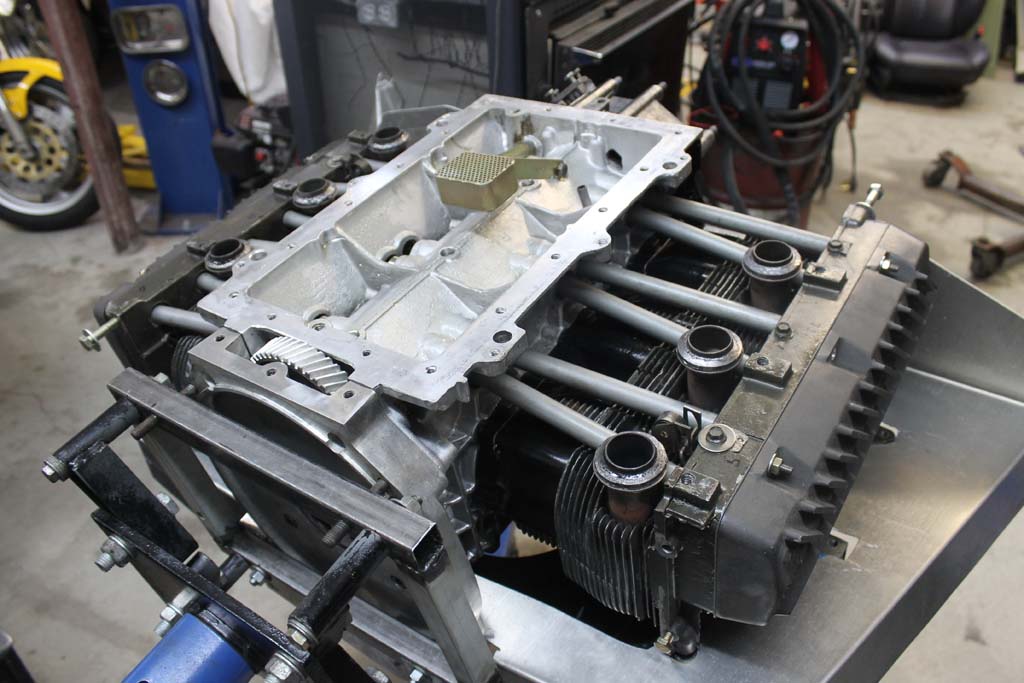
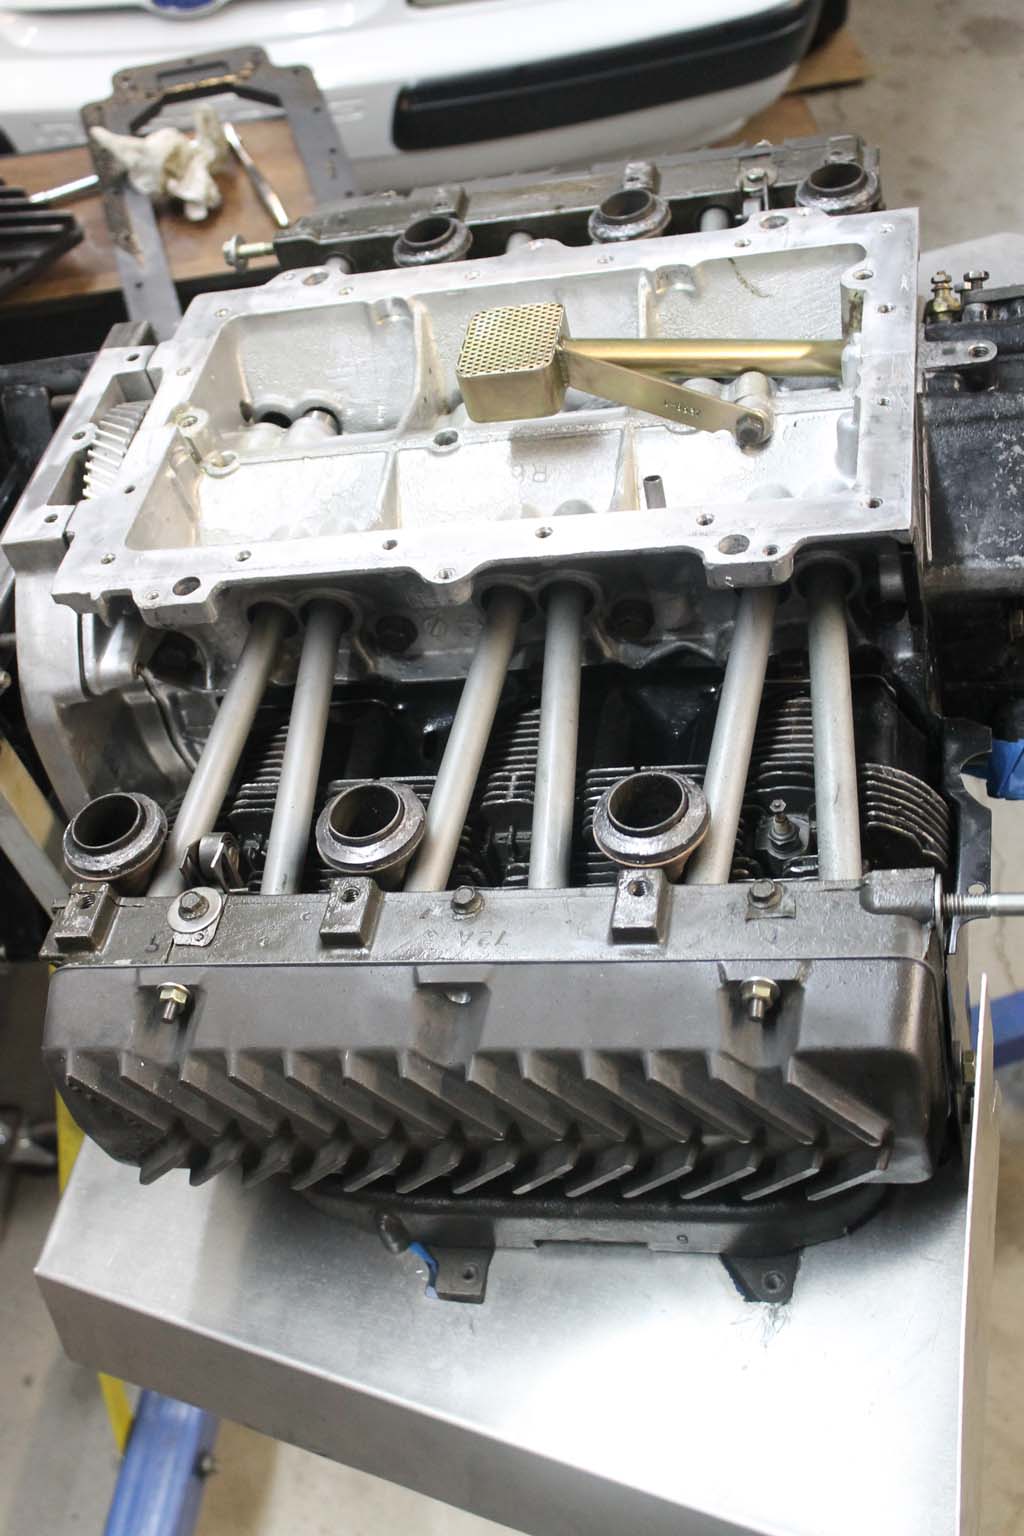
Special oil pickup added for the deep sump oil pan.

Crown oil pan and spacer for increased oil capacity. More oil will also increase cooling capacity.
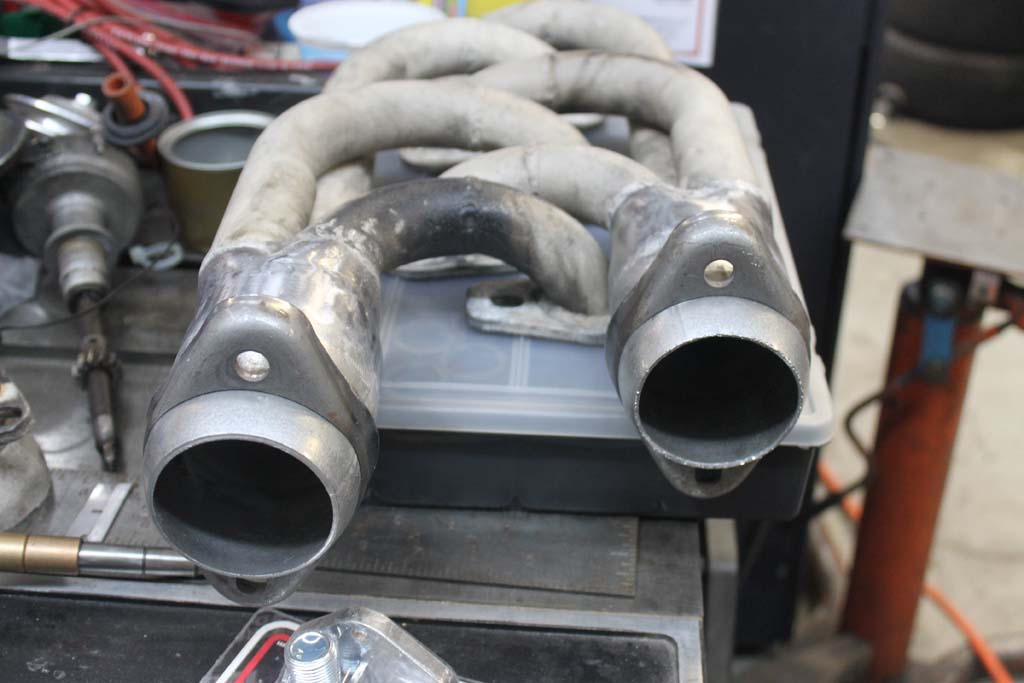
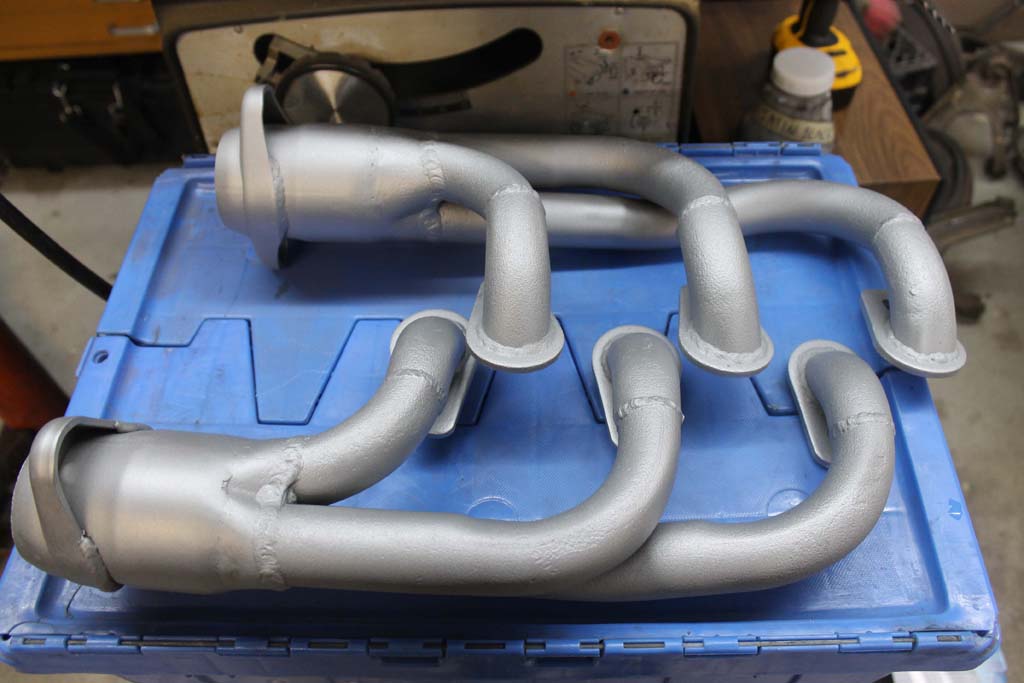
I modified the collectors of the Cyclone headers to use a ball and socket connector. Should seal better than the old style.
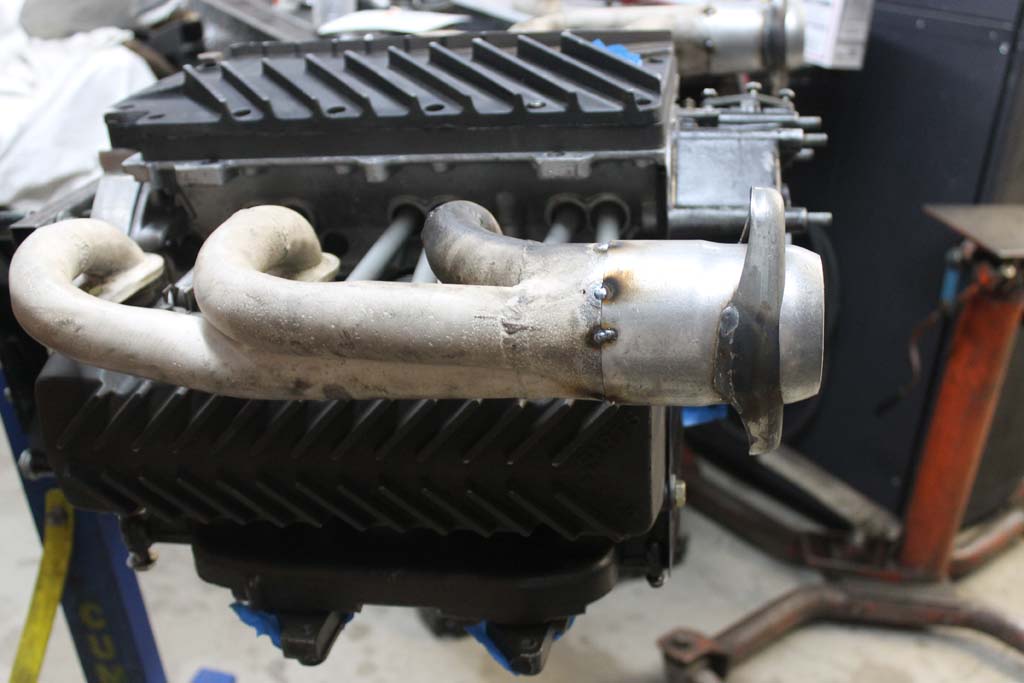
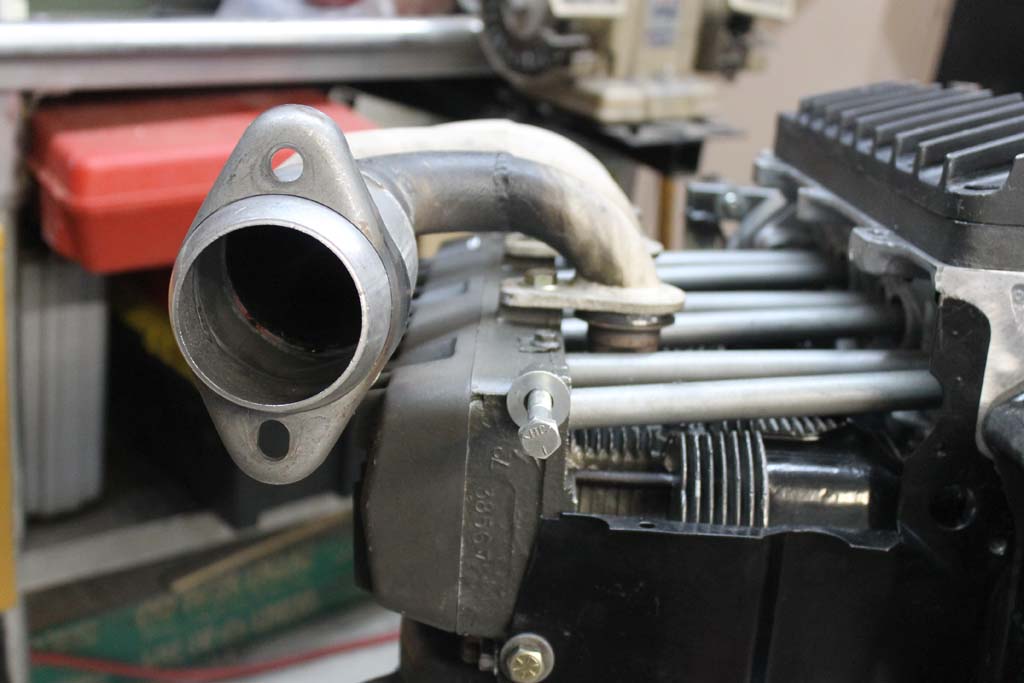
Collectors fully welded and and ground smooth.

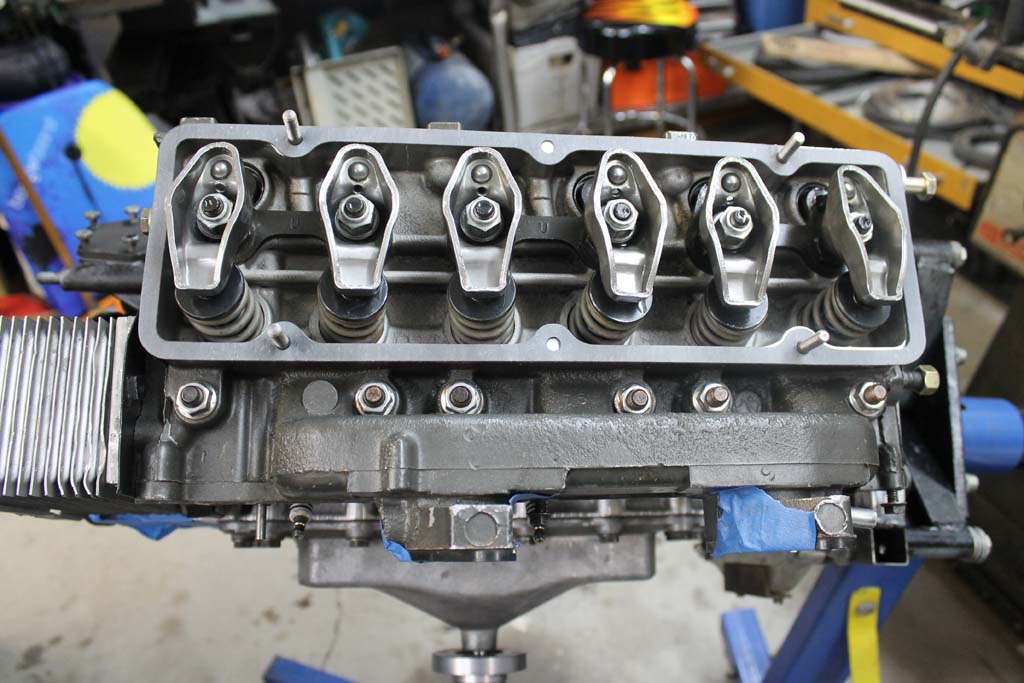
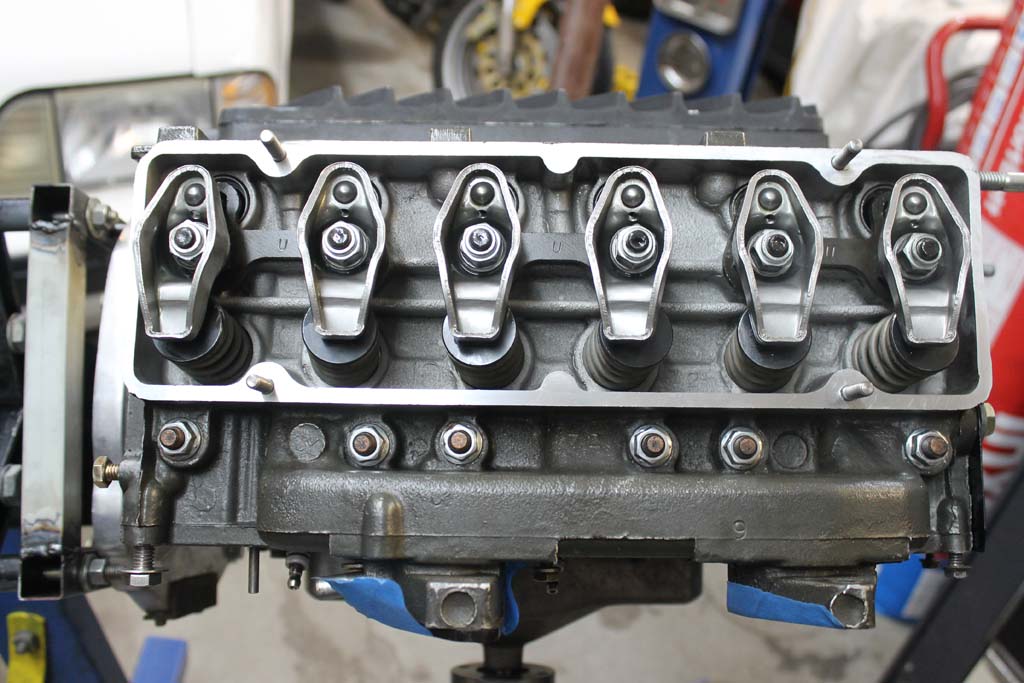
I purchased Clark's mated and grooved rocker arms set. Also got new HD pushrods. Note the new top cover with Aluminum blower bearing.
I podwercoated the pushrod tubes with high temperate powder.

I now have all 4 end shroud pieces for the ends of the cylinder heads. I need all the hot air to be pushed down.
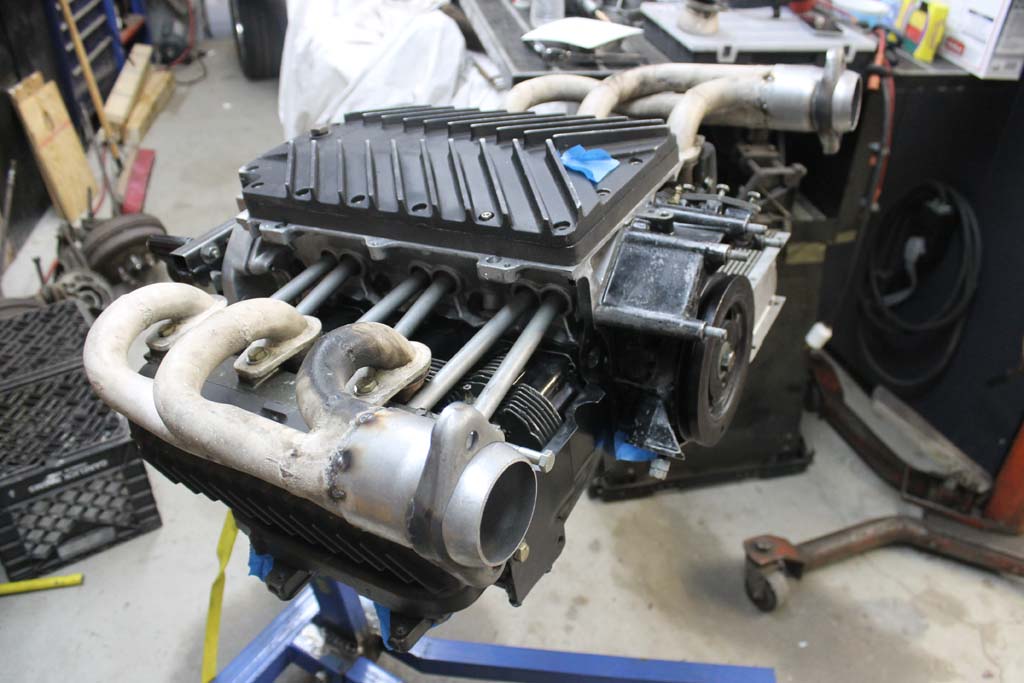
Crown Aluminum Valve covers.
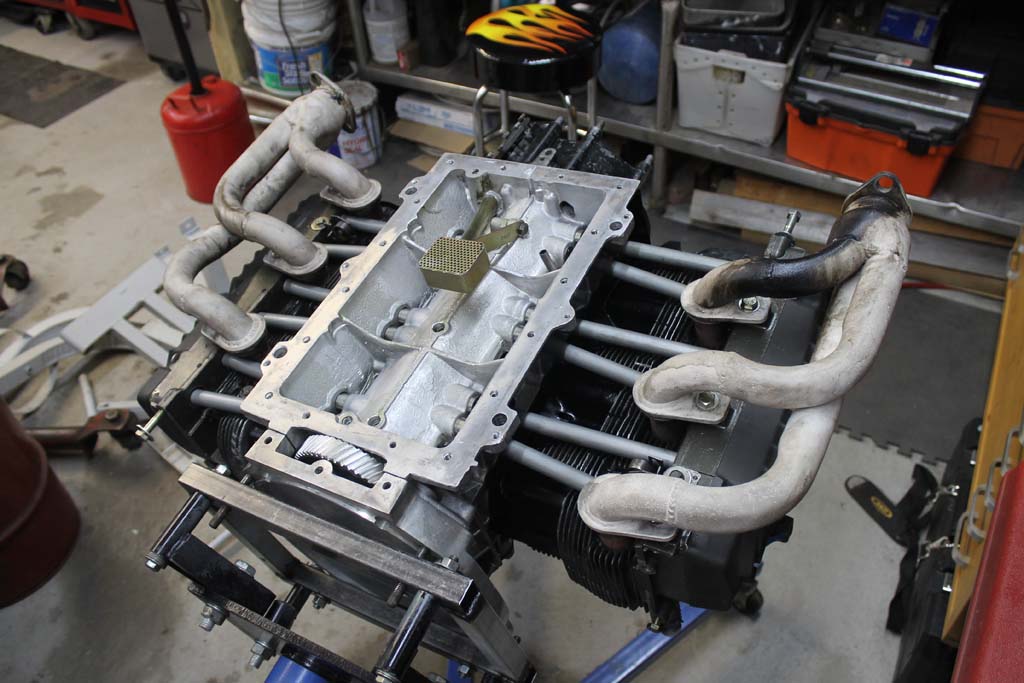
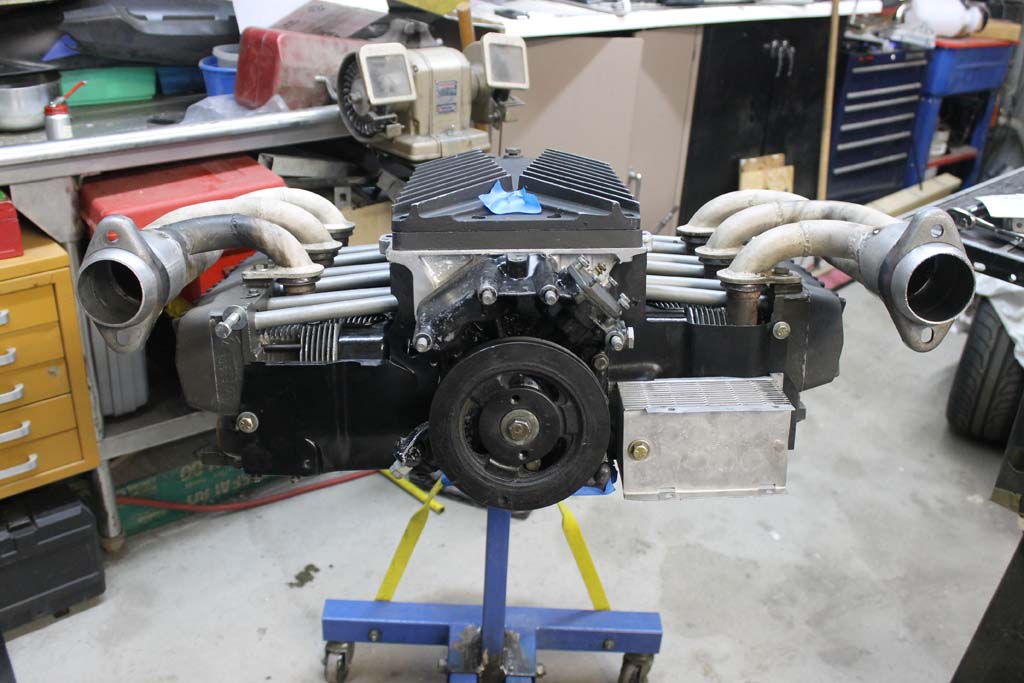
Modified Cyclone Headers. Powdercoated in Hightemp Silver.
Rebuild Corvair 140 Distributor. Includes Pertronix ignitor and revers gear and thrust bushing.

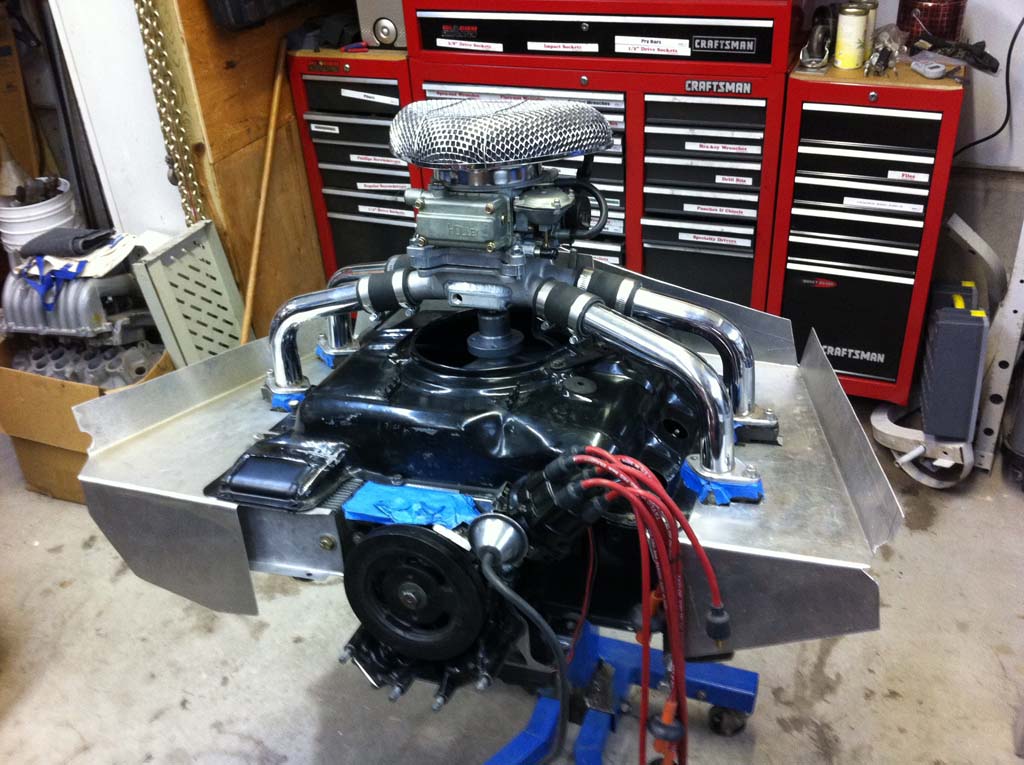
Final Engine with All shrouds mocked up and ready for installation.